Yoshida Fire Festival - About the Giant Torch

Let's learn about torches

We will explain in detail how to make a large torch.

Production of a large torch

- Splitting firewood -

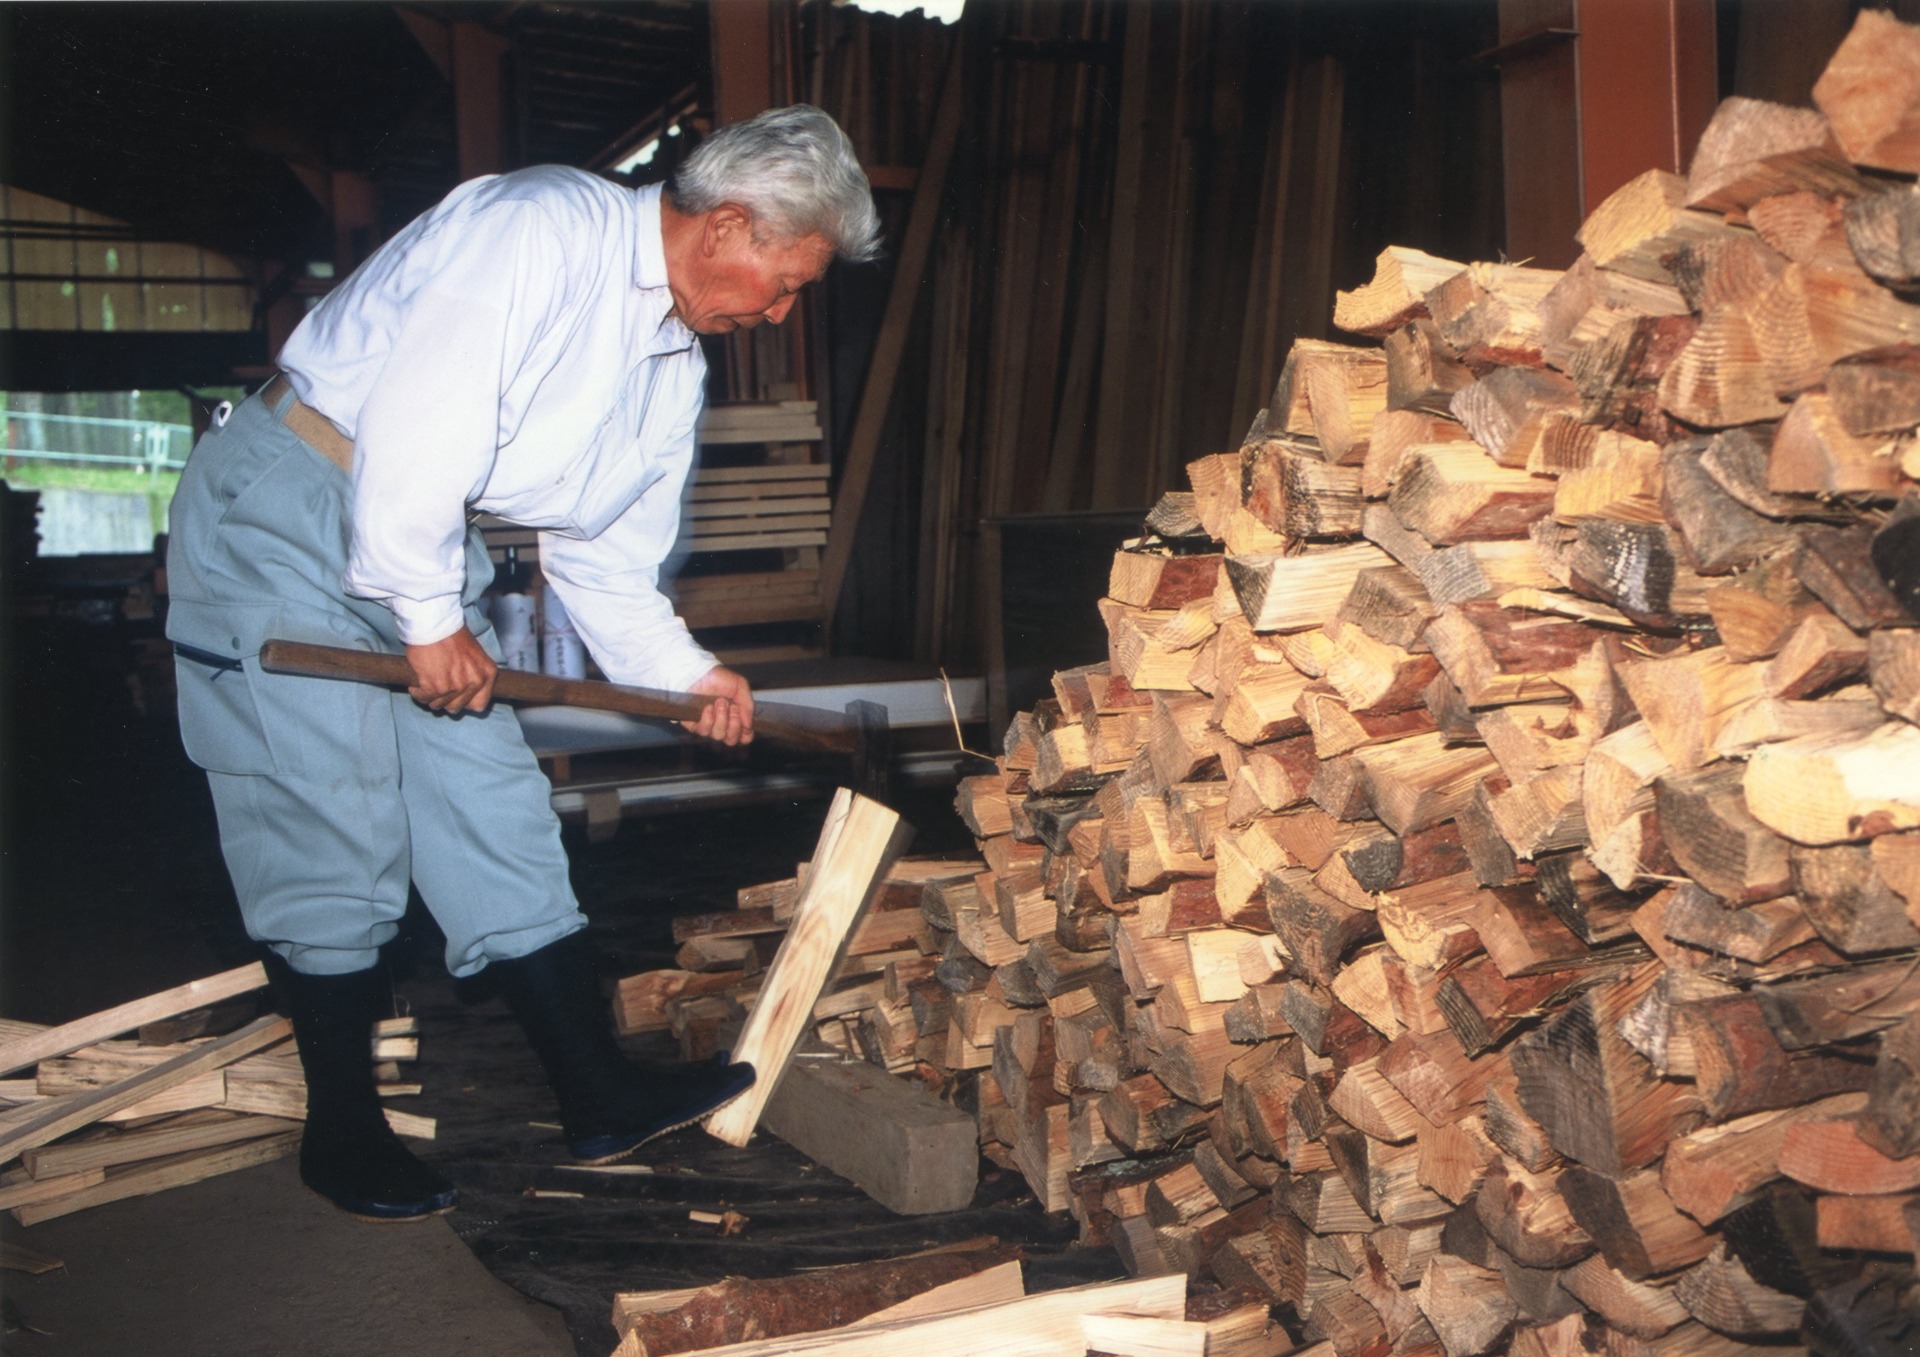
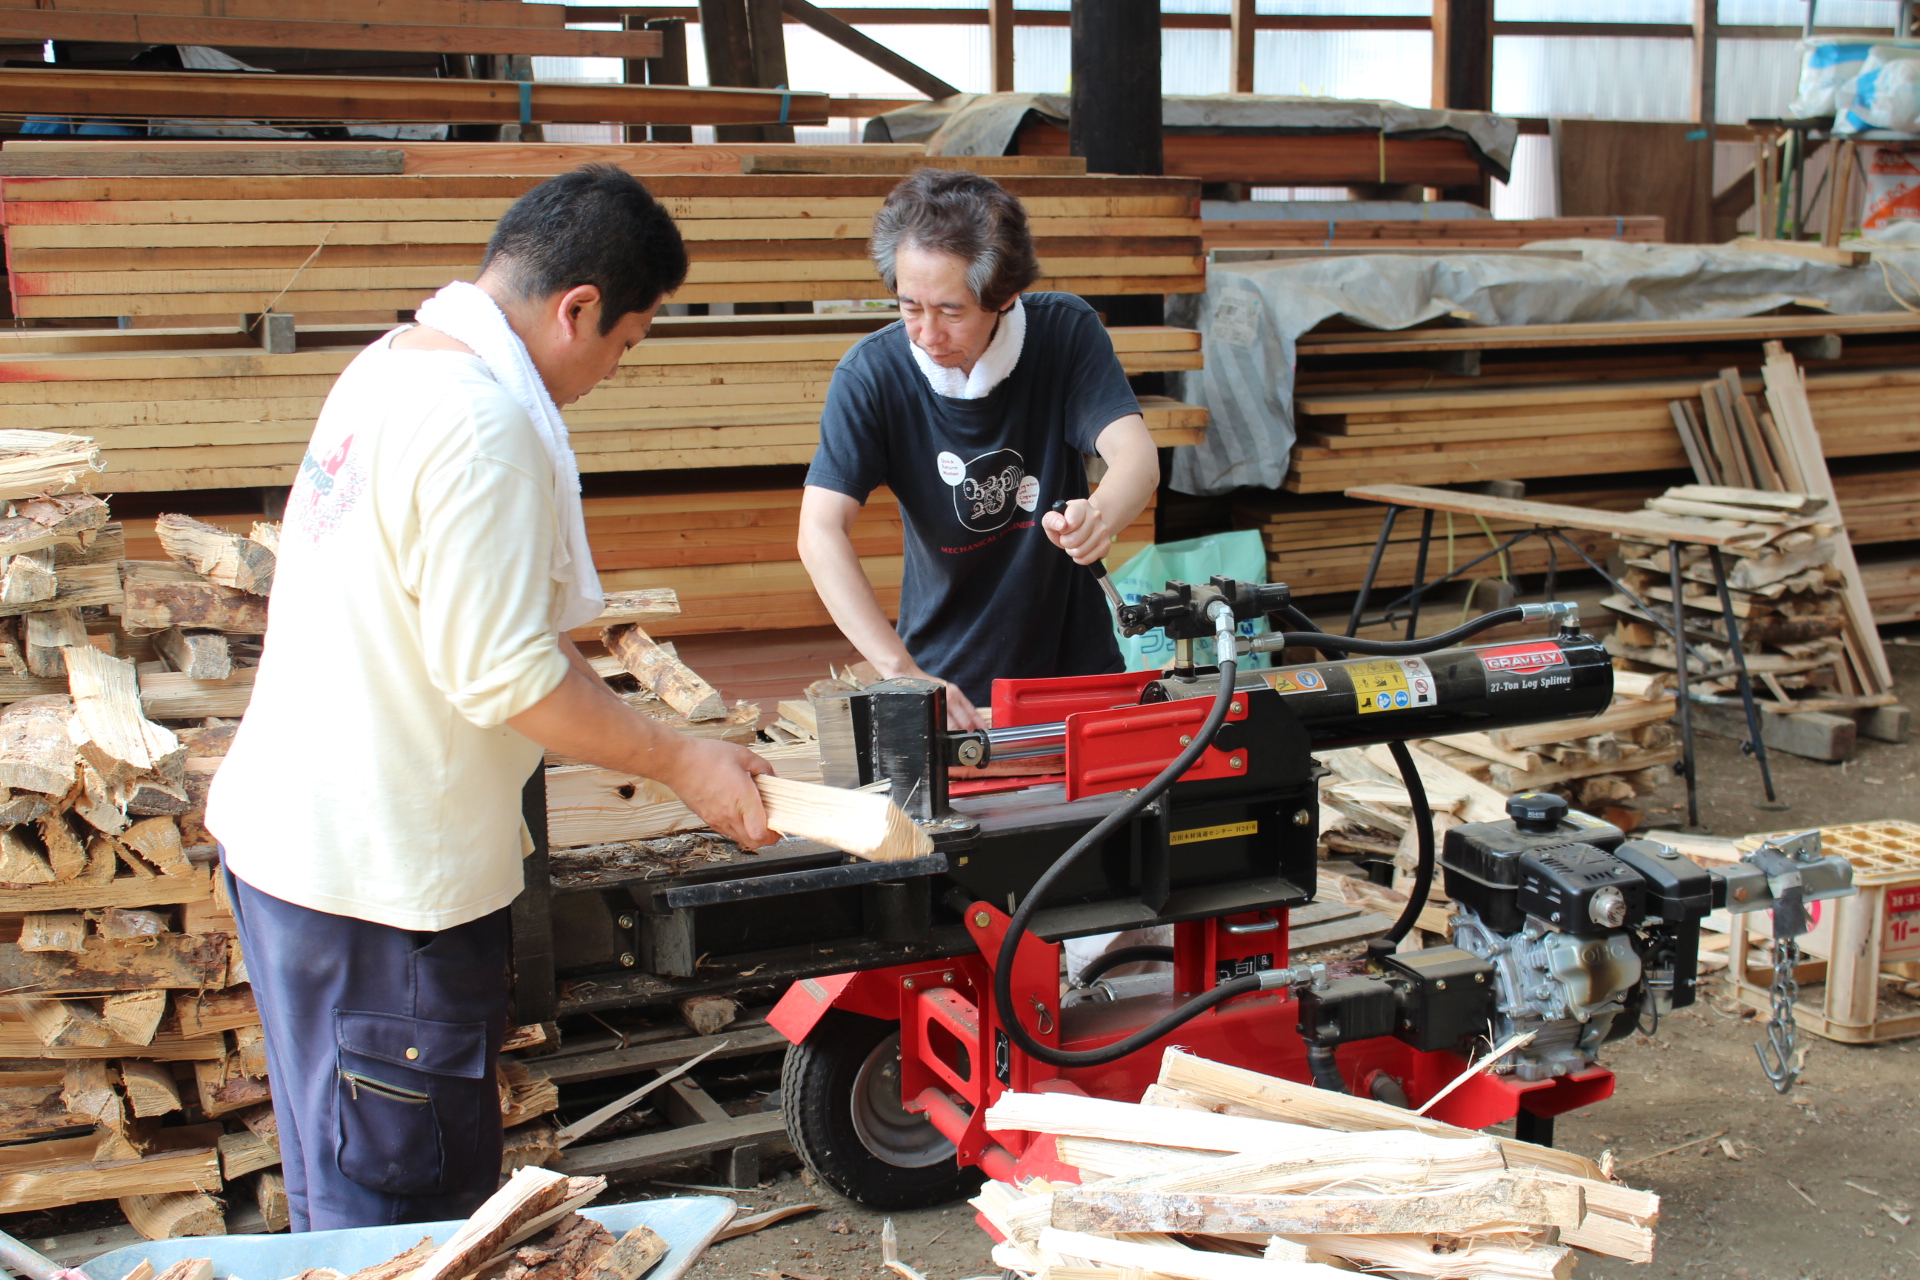
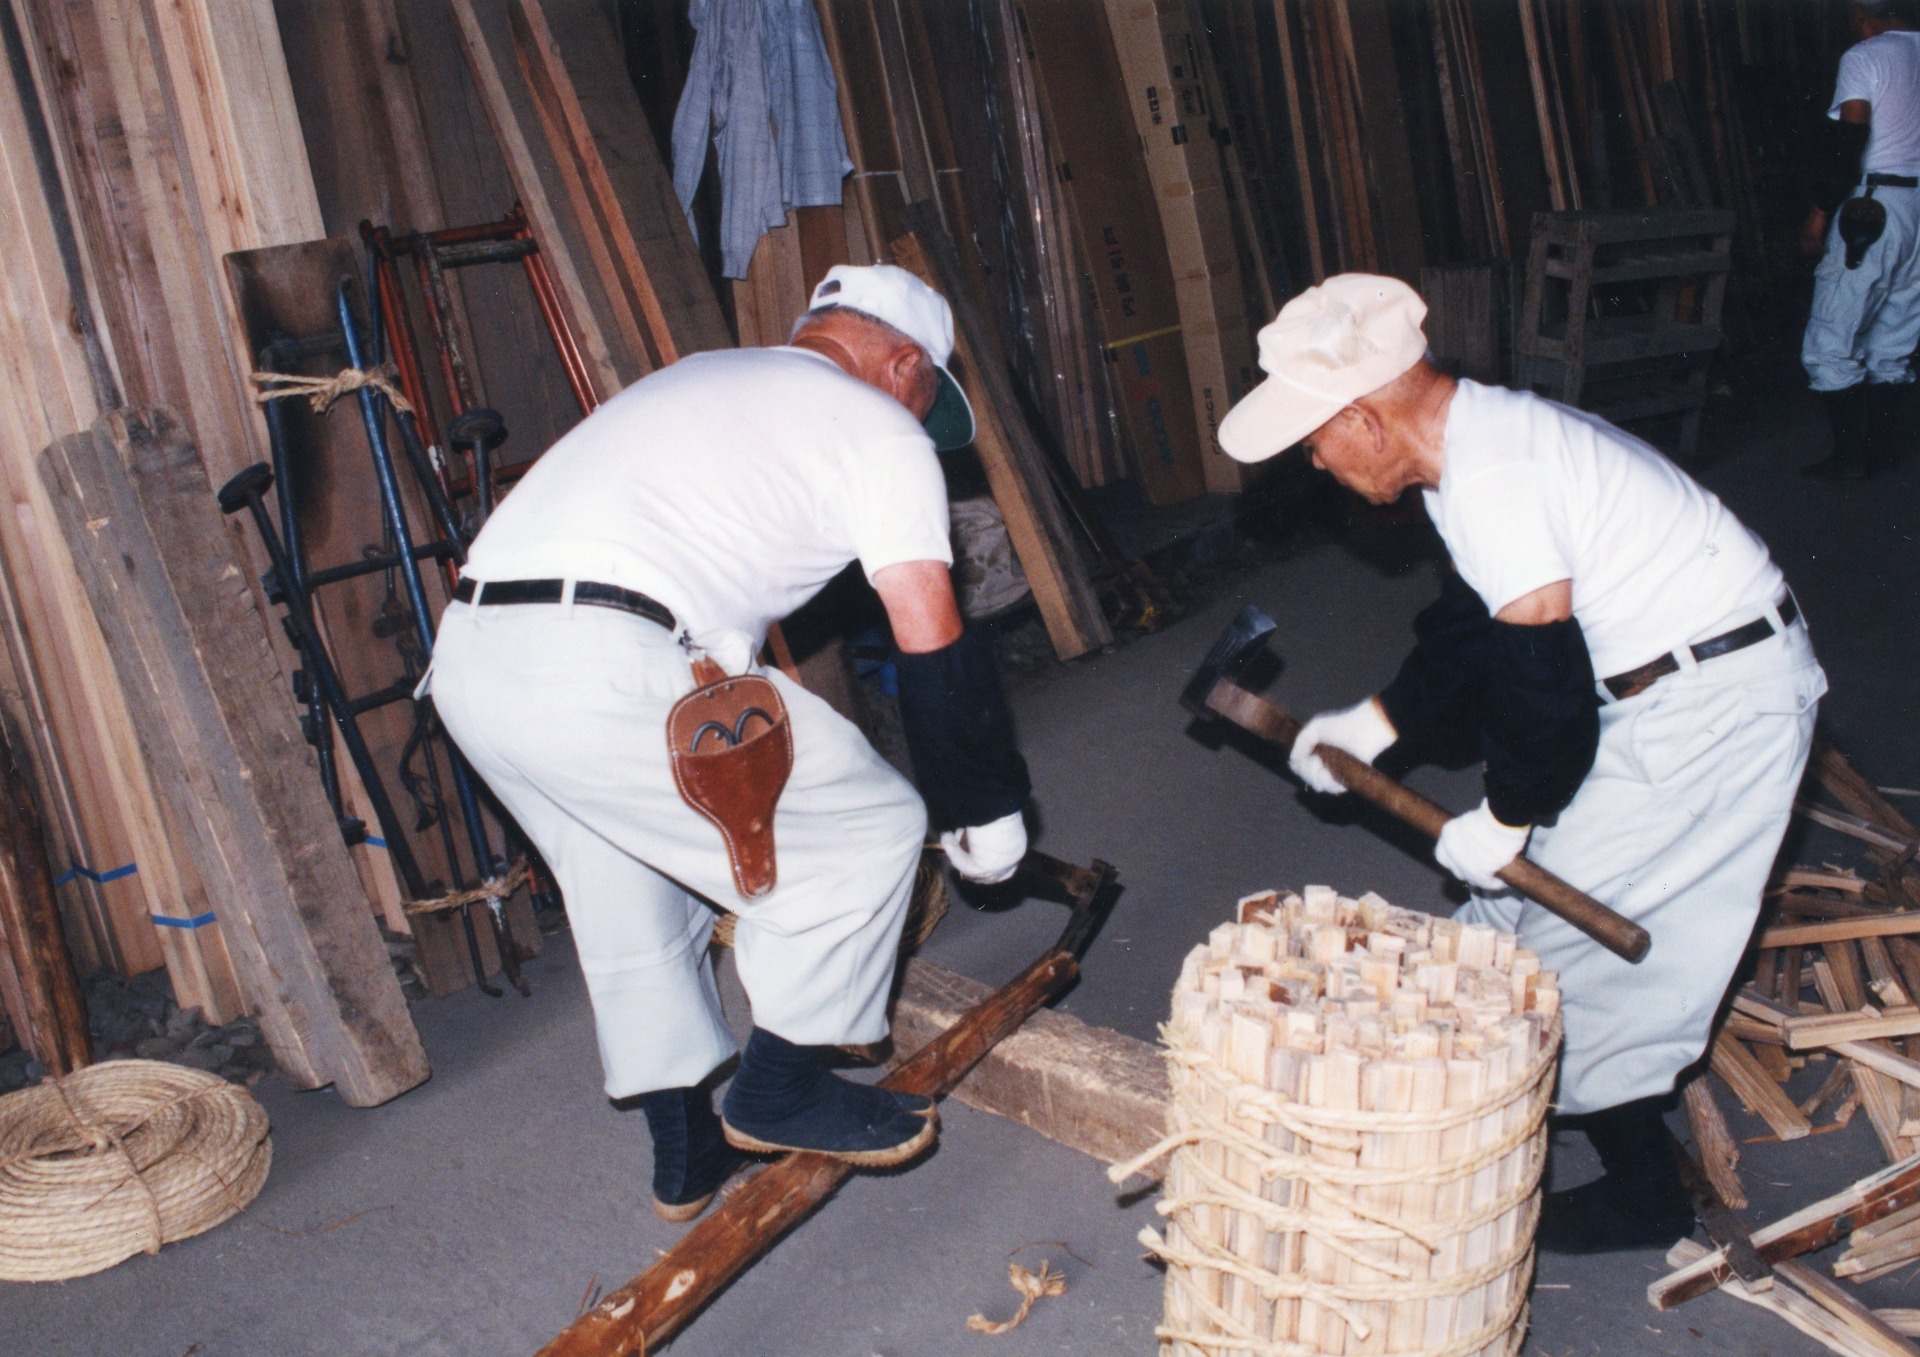
The axe used to split firewood is called a yoki. The firewood is placed diagonally on a stand called a yokiuke, and the wood is held down with the crotch of the toes of the tabi boots to split it.

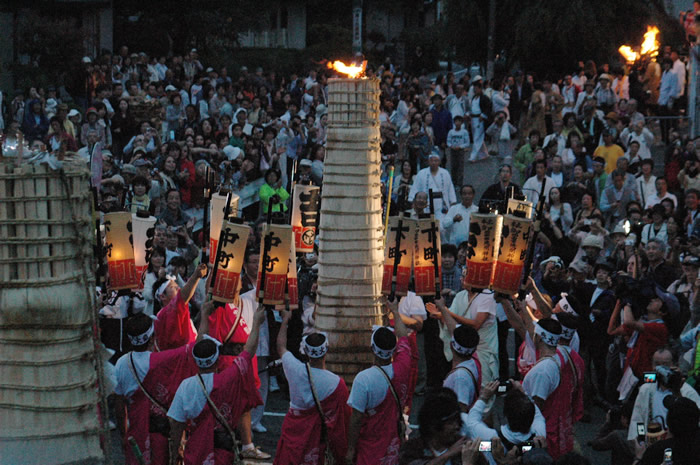
 They say that firewood burns because it's split into small pieces. It won't burn if you just pile up thick logs. The way you split, bundle, and stack the firewood is the key to a beautiful burn. They say that the most beautiful time for a torch is about fifteen minutes after lighting it. This is because air can't get in from below until it's about half burned, and after about fifteen minutes, the fire draws in the air as it burns, resulting in a beautiful flame.

 Among firewood, those with a reddish cut surface are said to have a "high resin content." Such firewood is used for the top of torches.

- Stacking firewood -

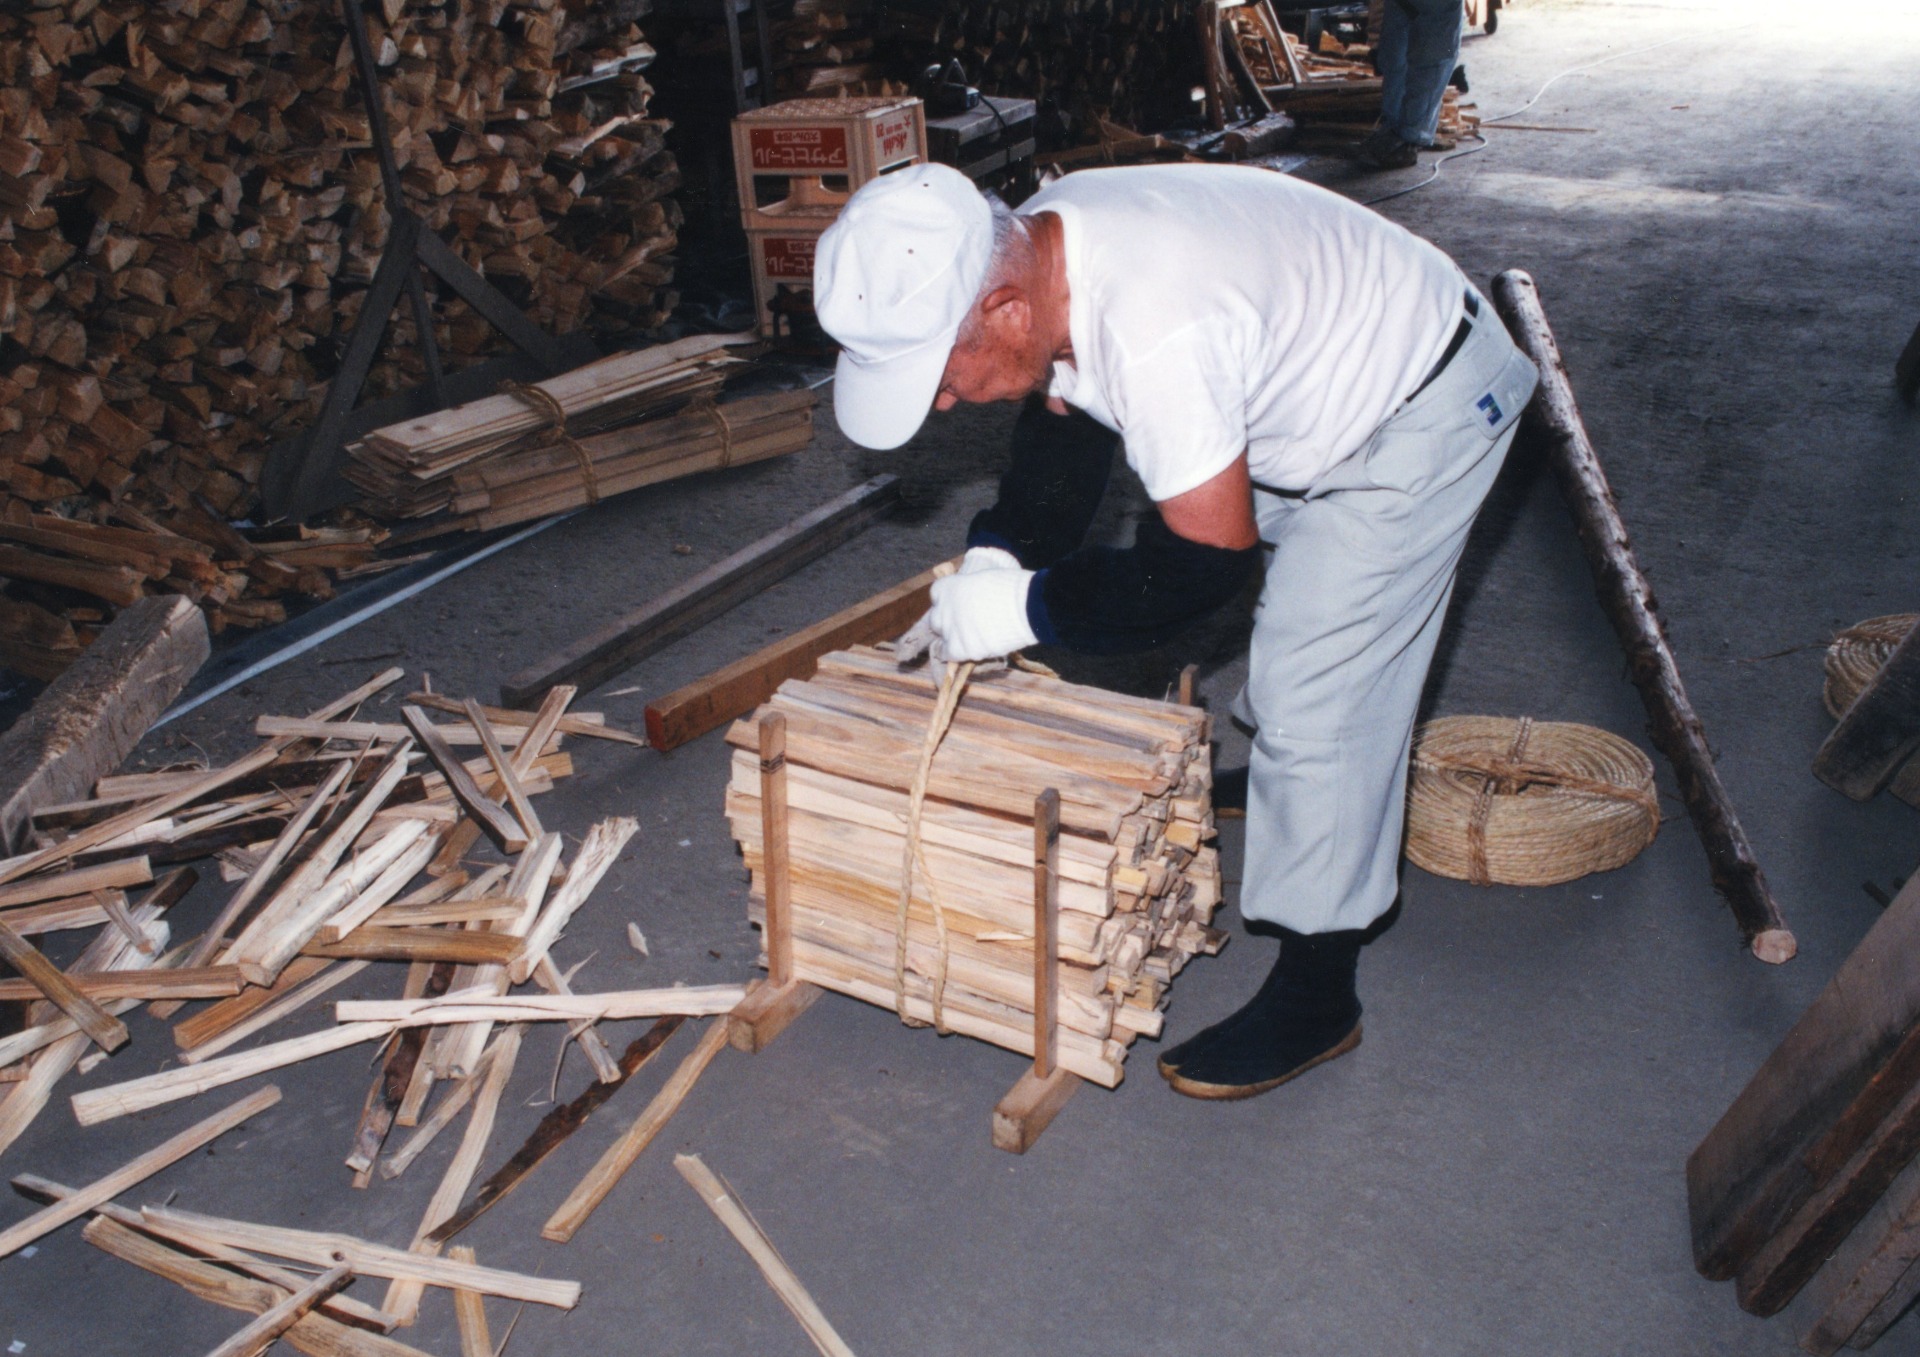
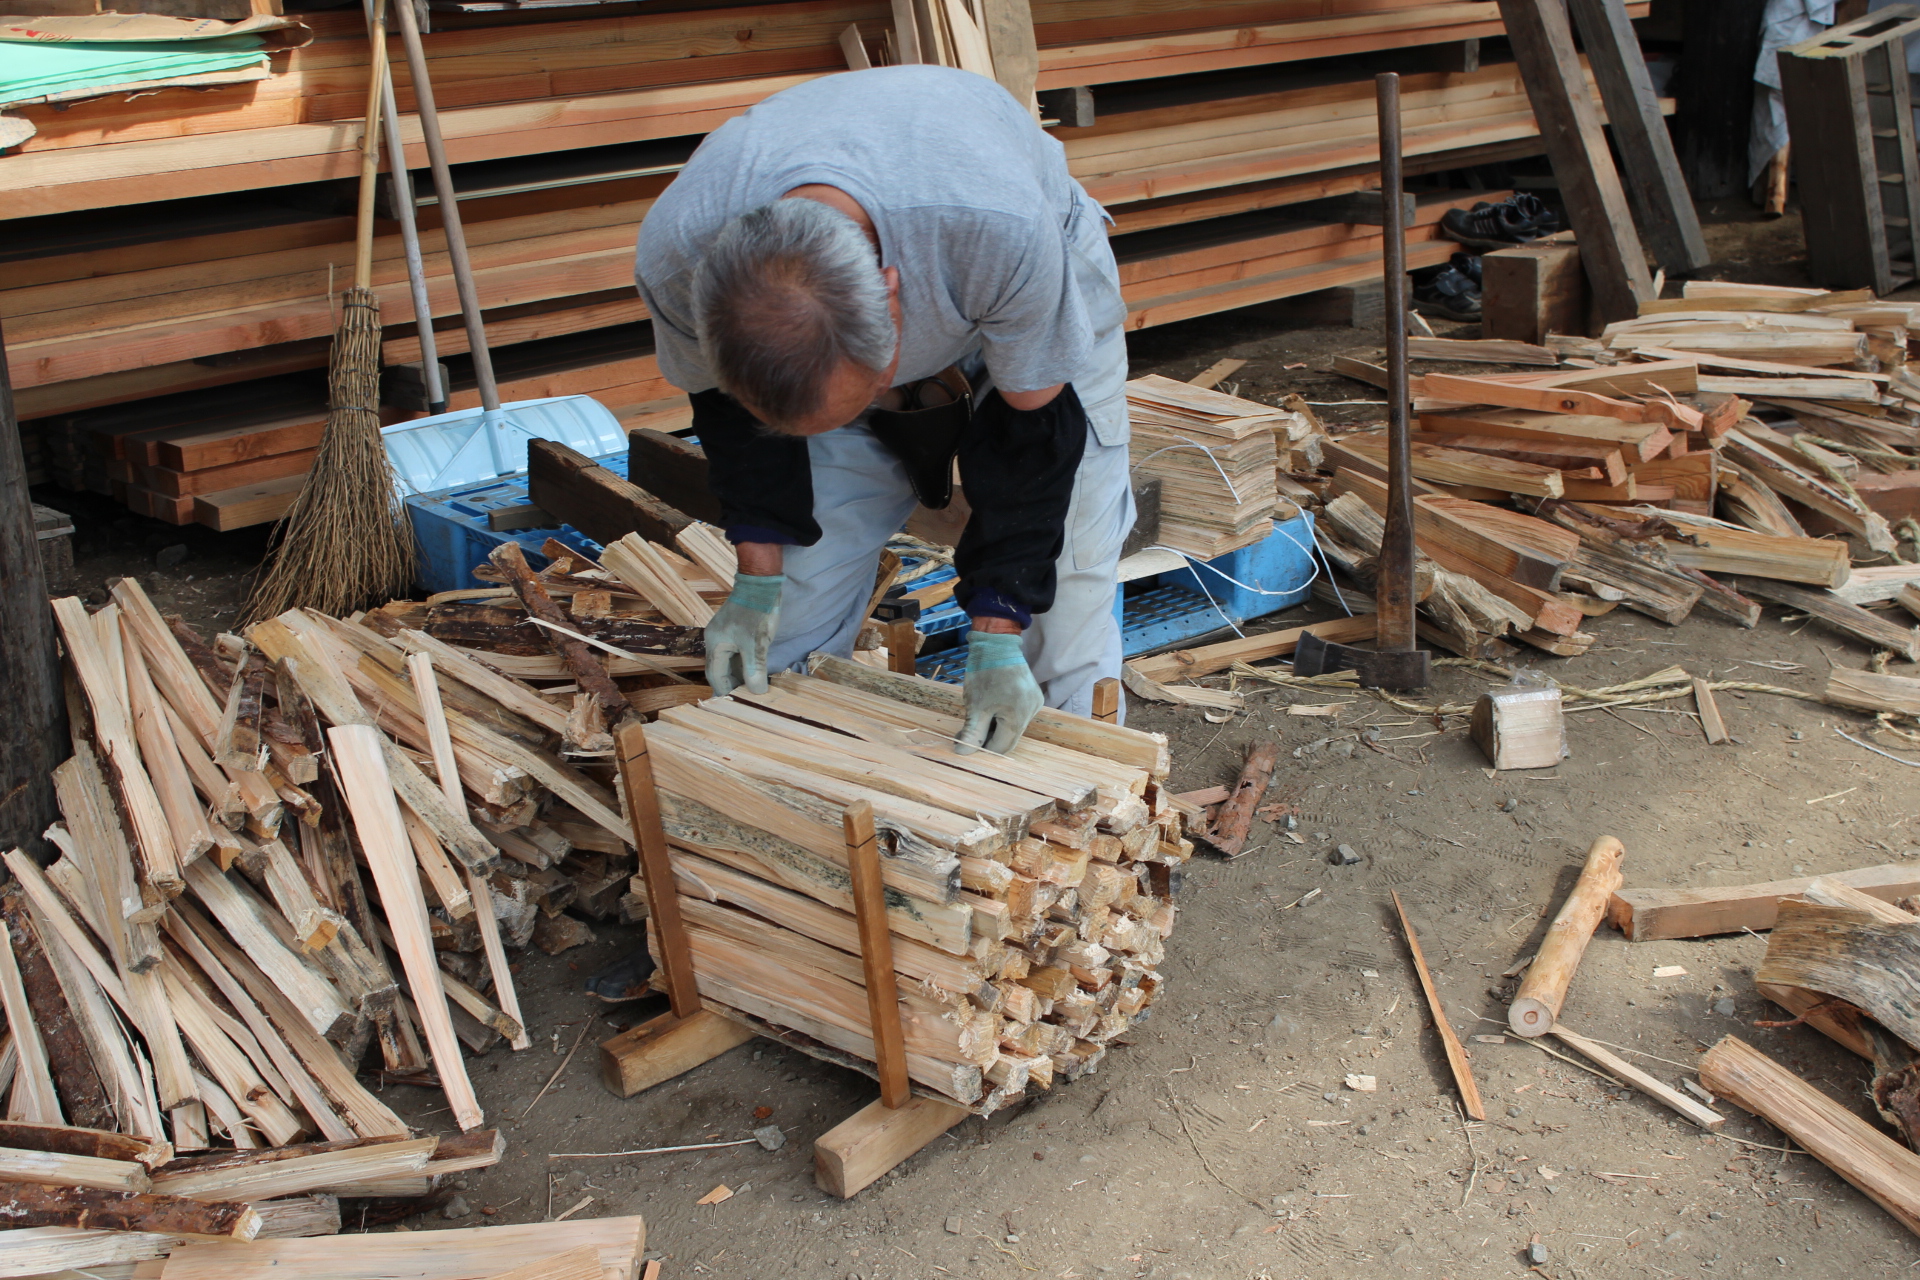
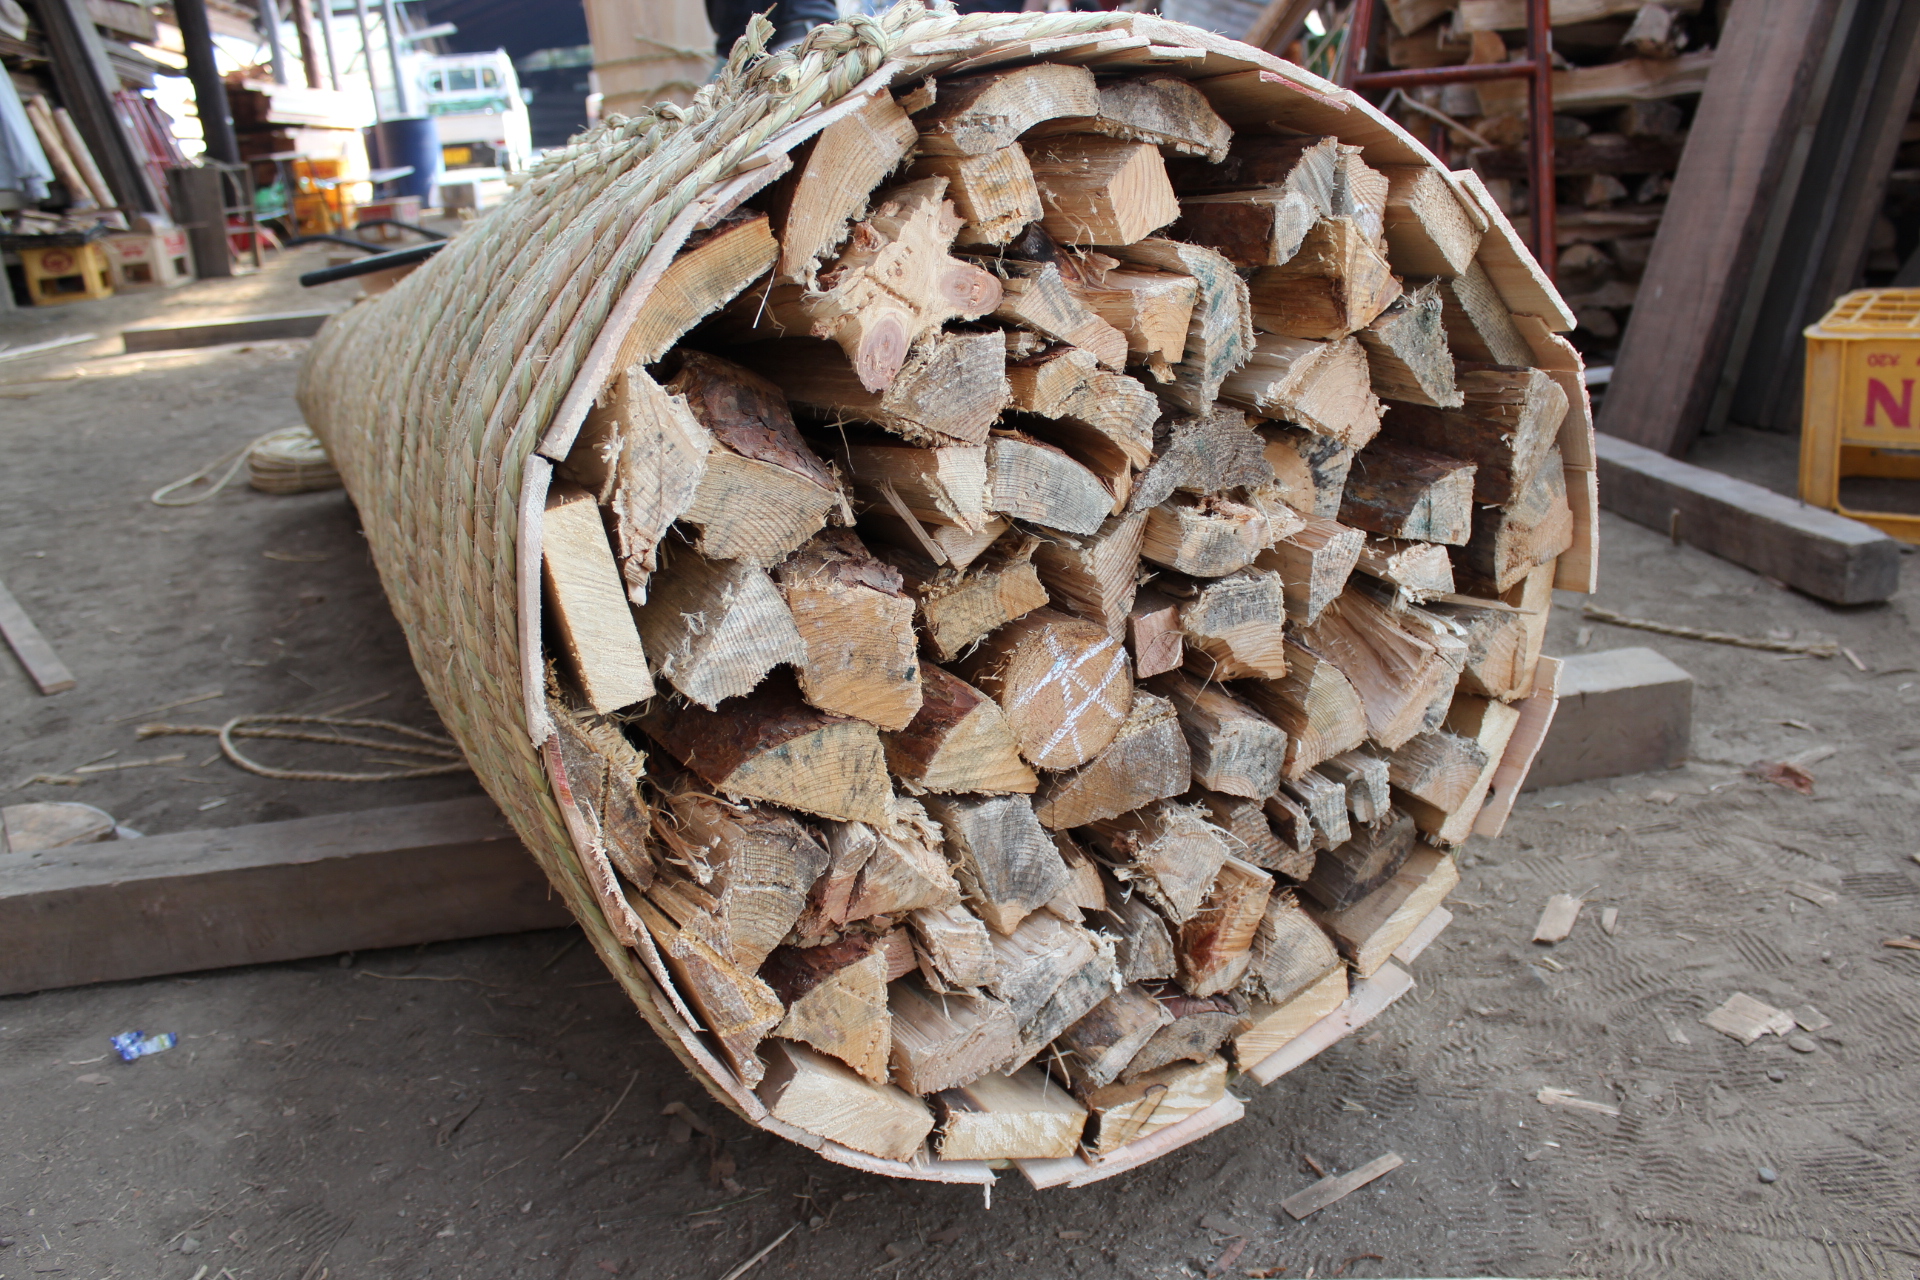
Place the split firewood into a wooden frame and arrange them evenly. When placing them in the frame, make sure the cut ends are neatly aligned. Once the frame is full, thread a rope under the stack of firewood from below, tie it at the top, and remove it from the frame.

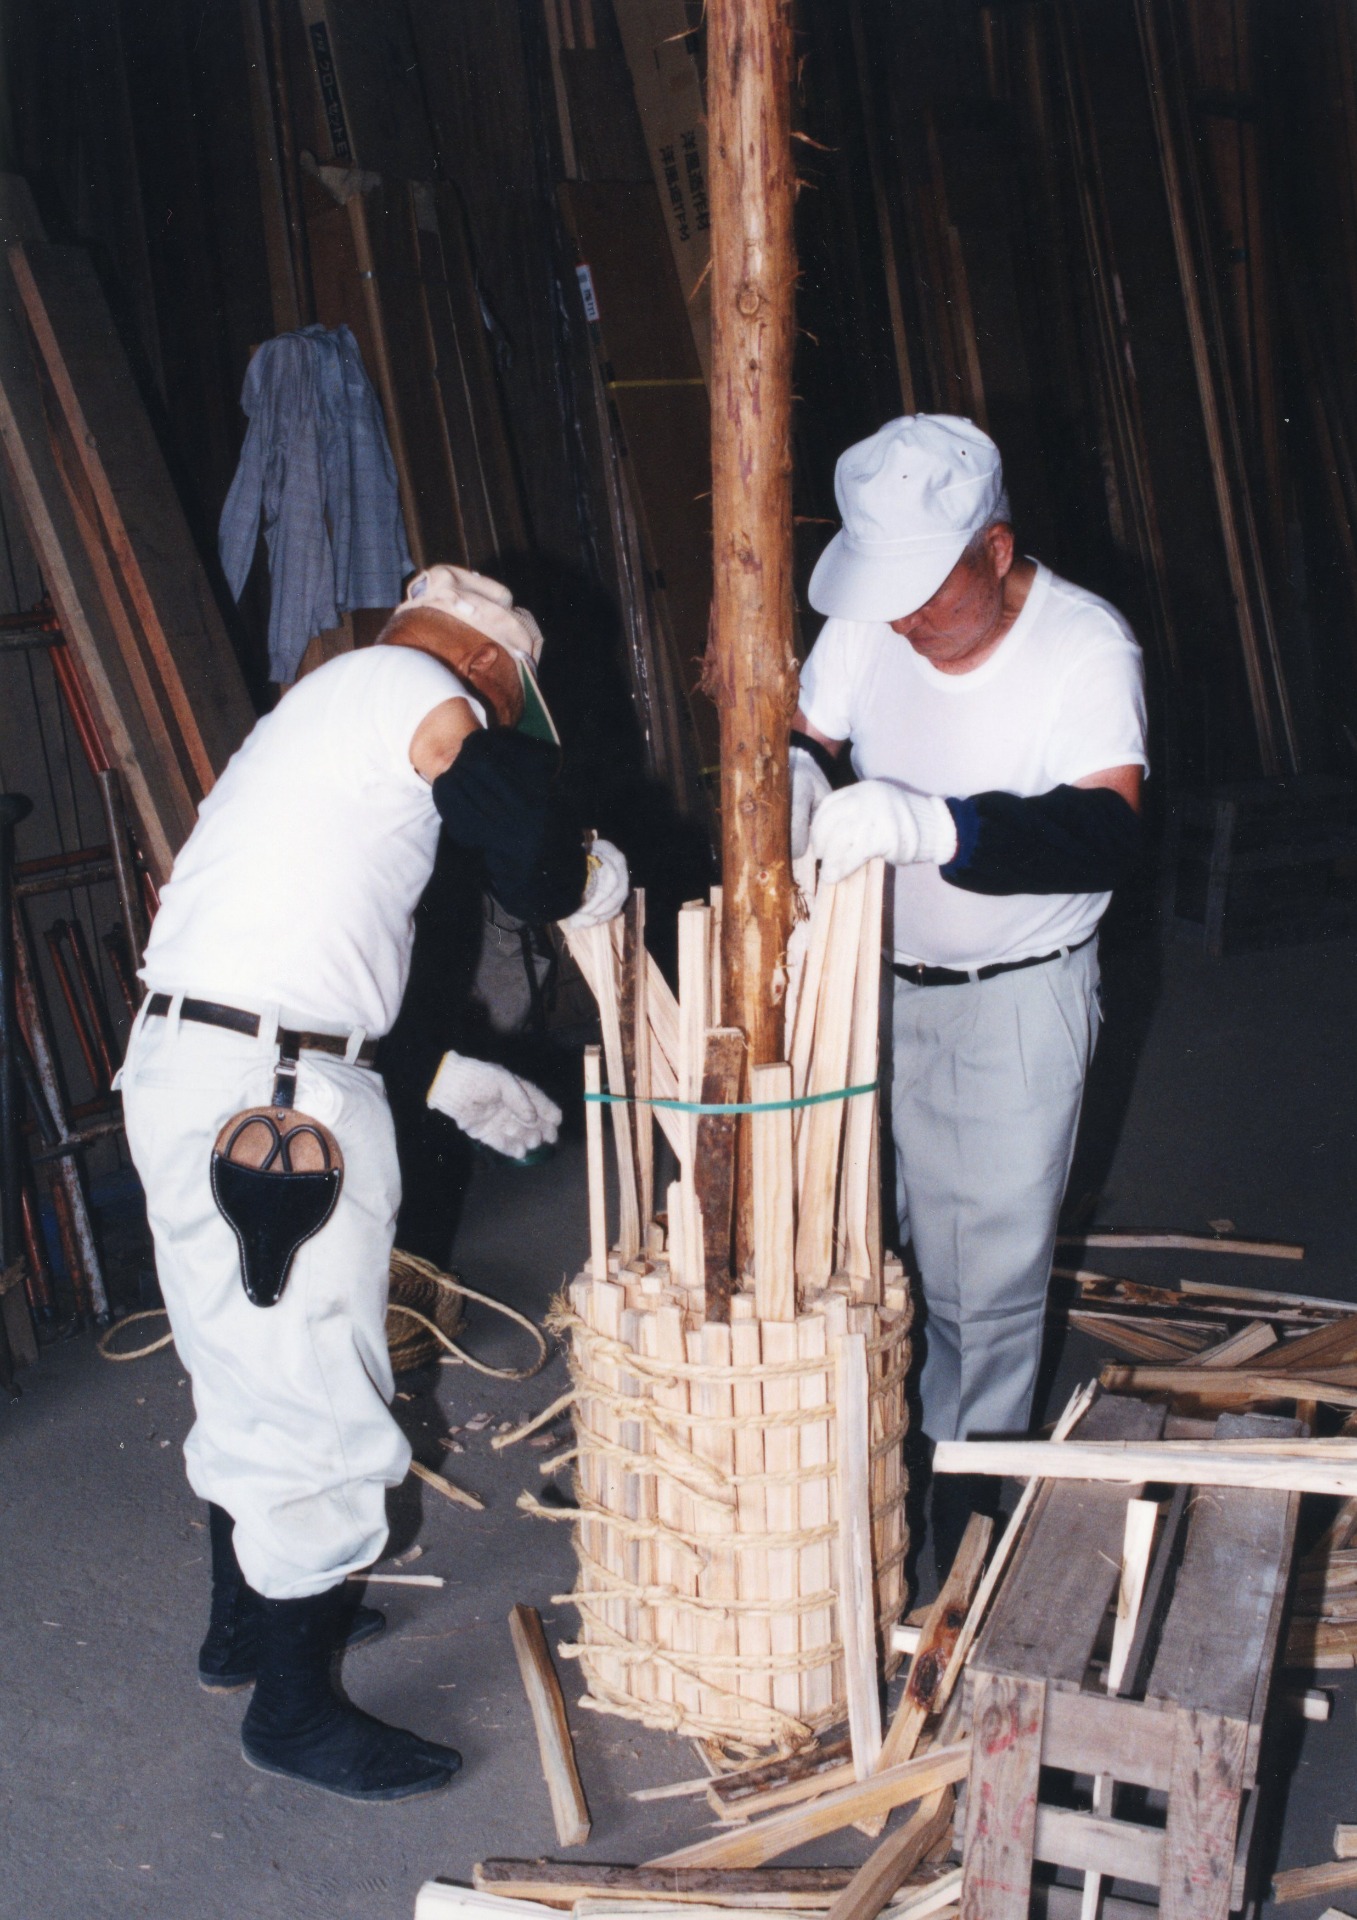
 Place the bundled firewood on top of two pieces of firewood, tie it with rope twice around each piece, and cut the rope with pruning shears. After tying it in three places, move the firewood closer together, fill the gaps with thinner pieces of firewood, and shape it into a round form.

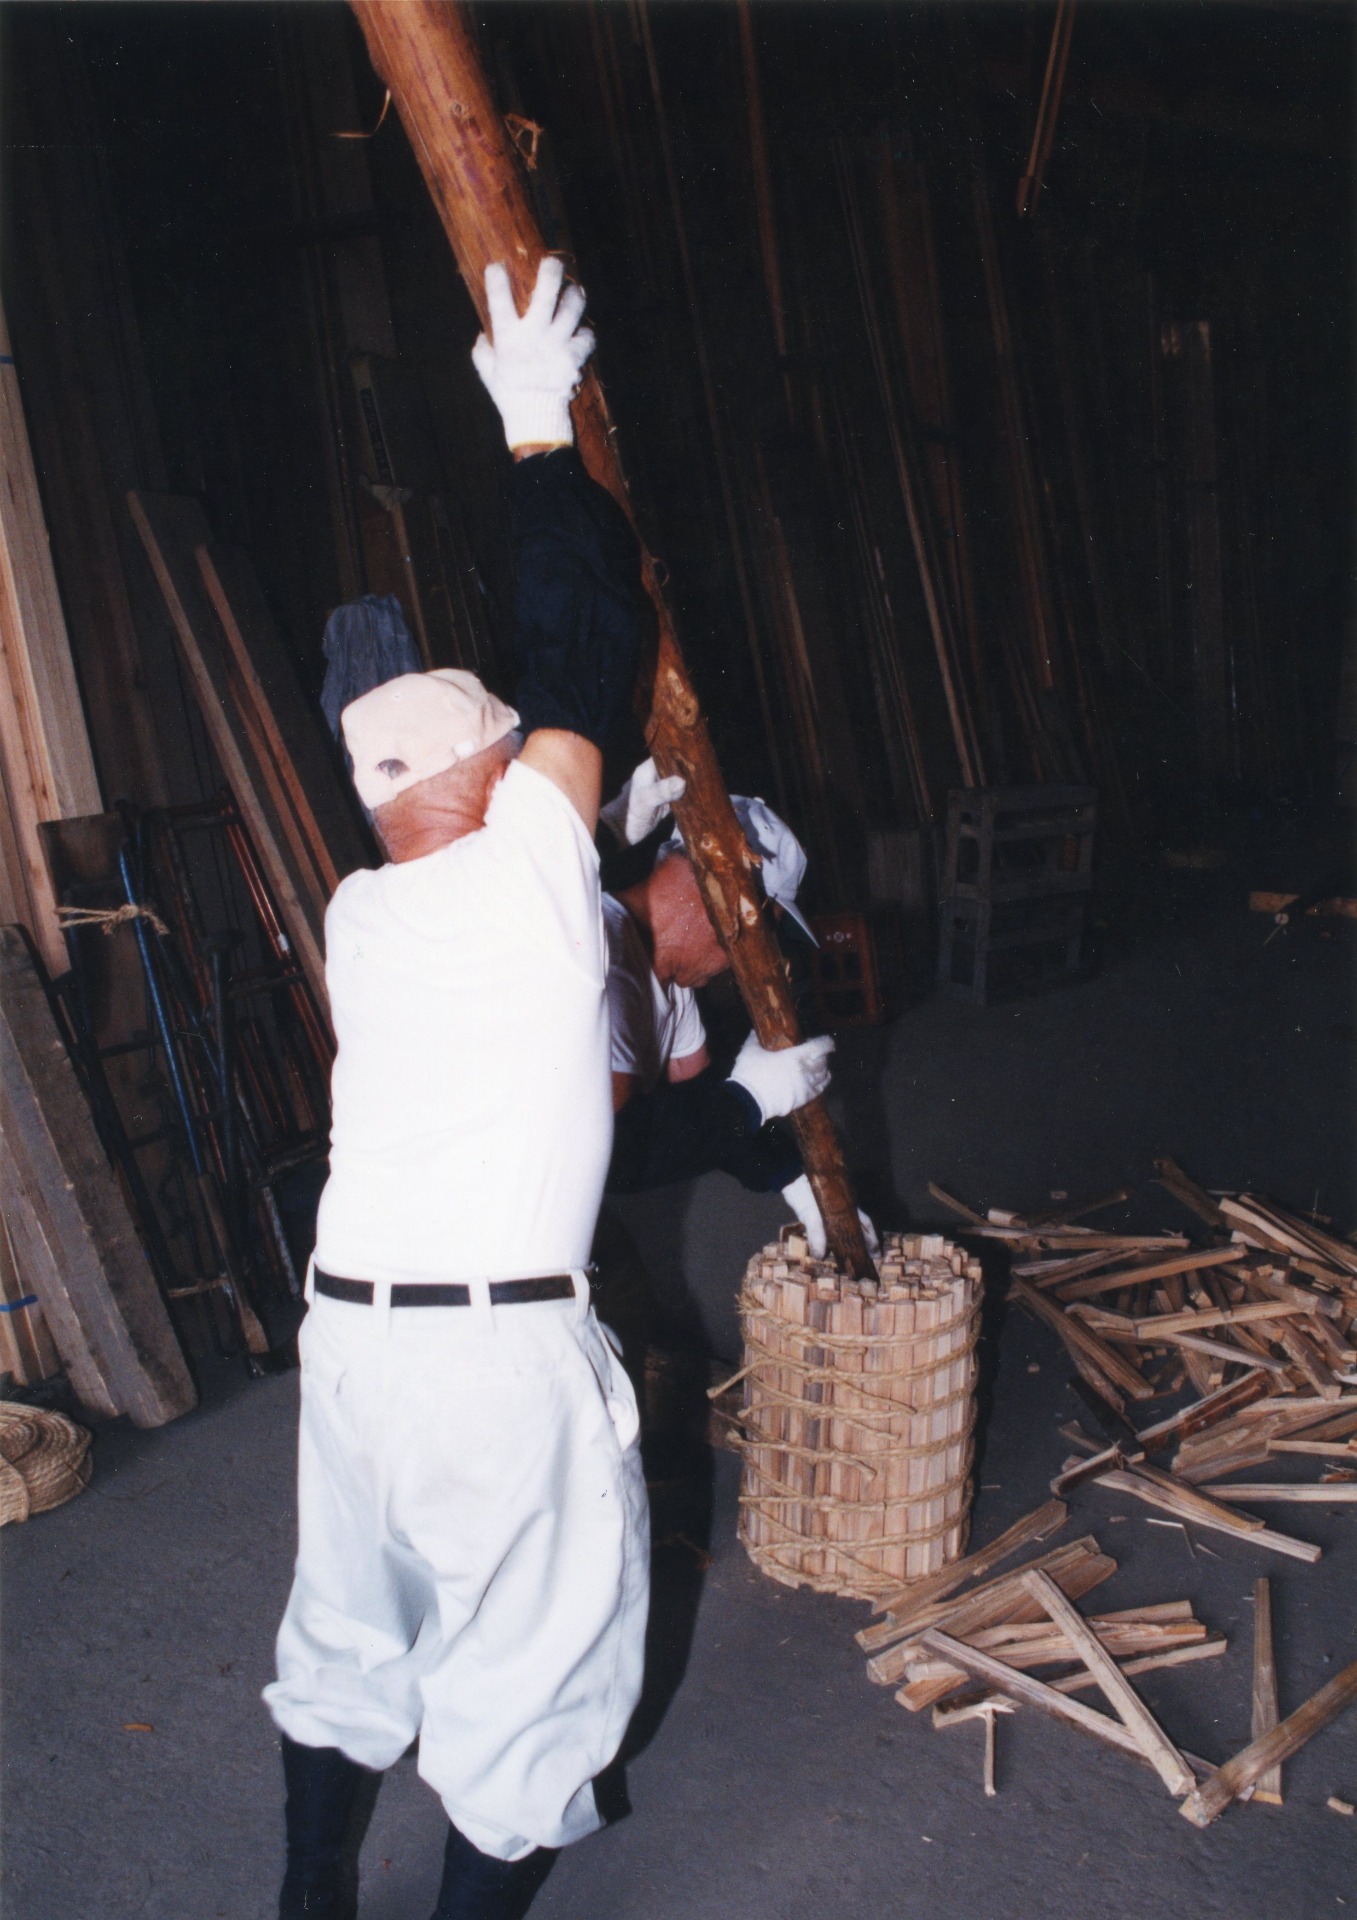
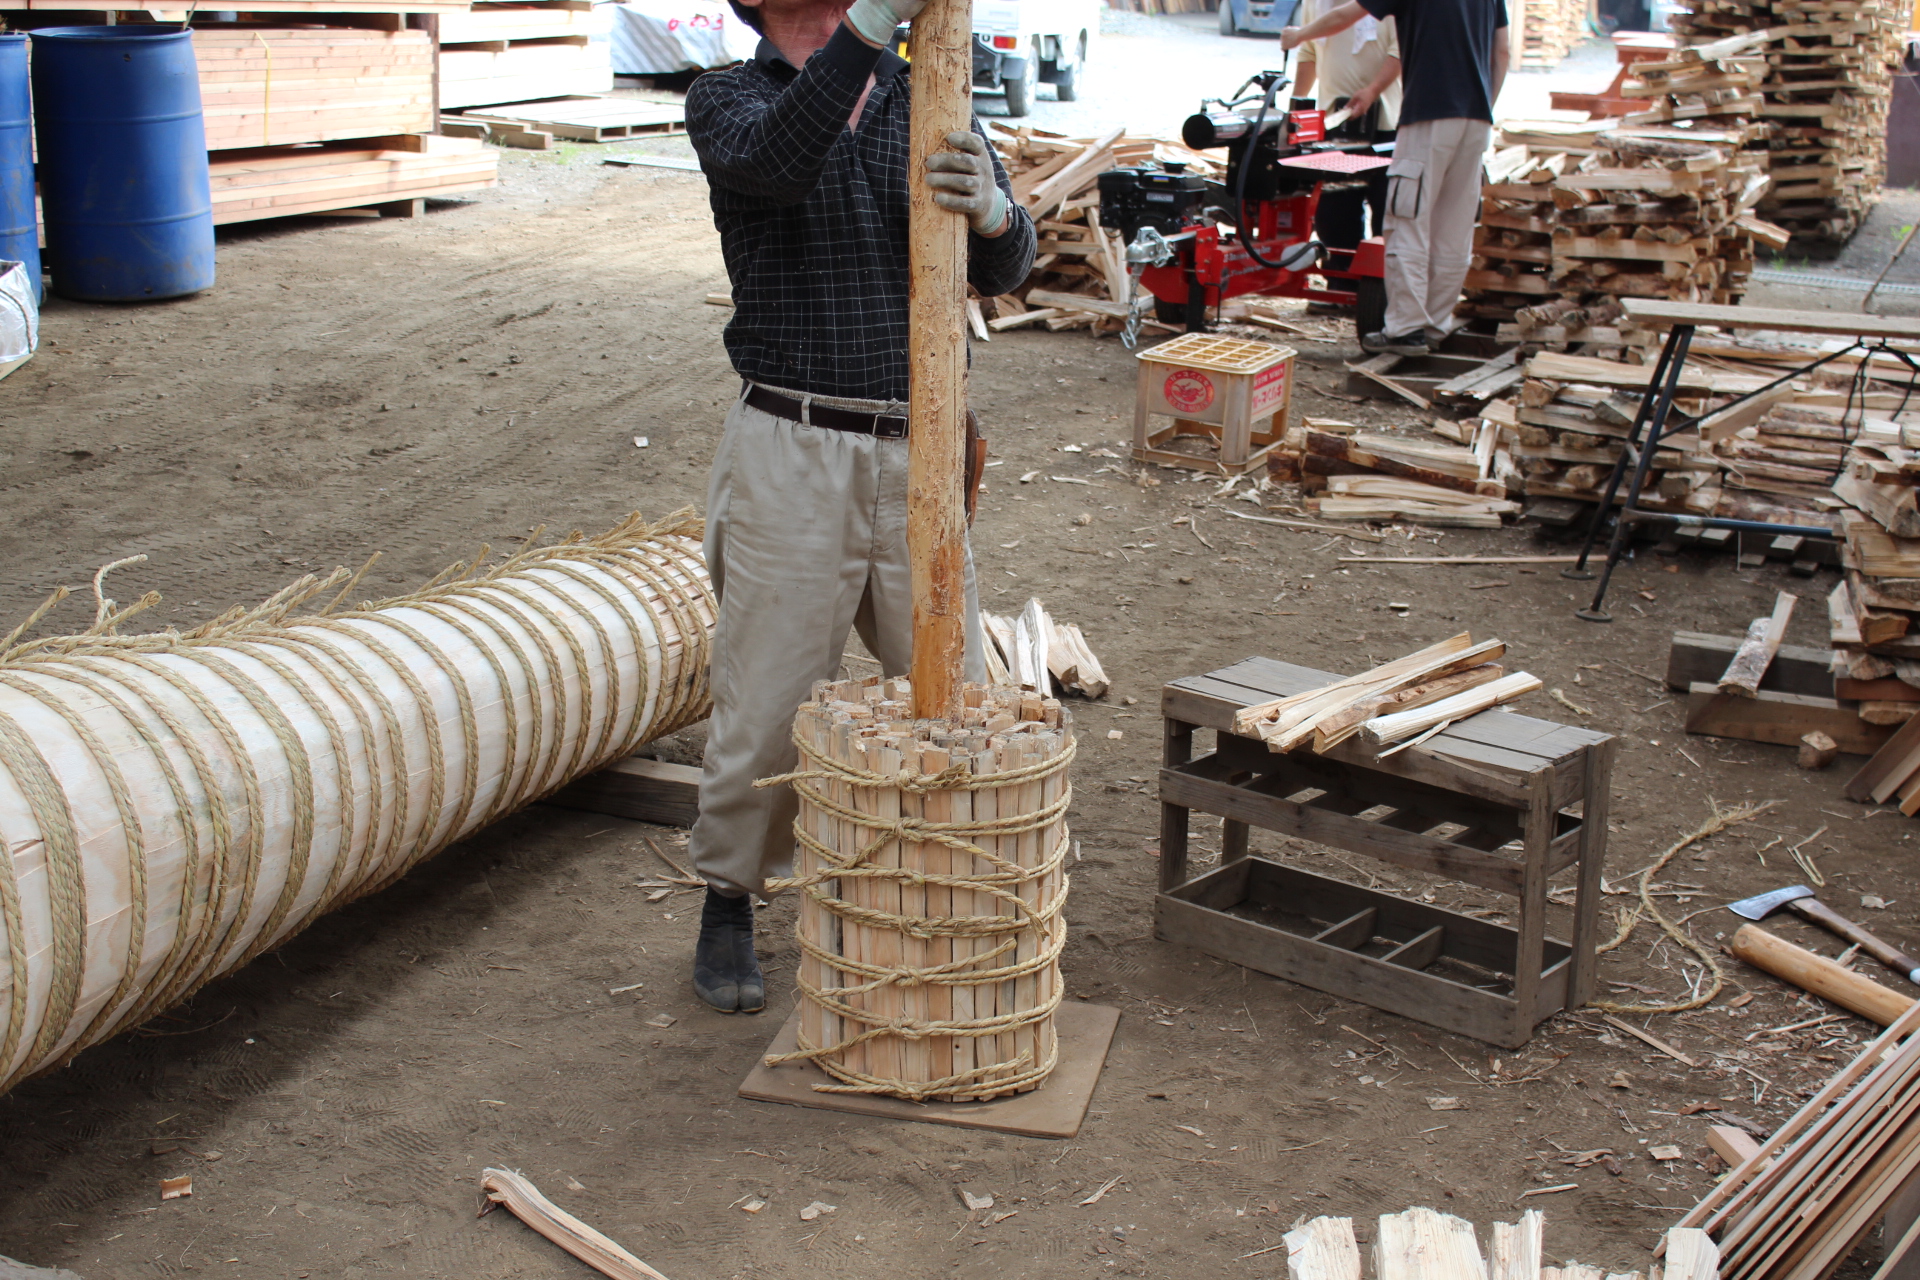
 After tying the fourth rope, lift the bundle, turn it around, and tie the fifth rope. This way, you will always be tying the ropes on your right side. While checking the overall position of the ropes, tie the sixth and seventh ropes, then stand the bundle upright, put your weight on it from above, add thin pieces of firewood to the gaps, and shape it by pounding it with the back of the axe, adjusting the balance of the rope positions.

 Lift the bundle and drop it with a thud, then hit it from the side with the back of the axe to create a gap, allowing you to add thinner pieces of firewood. Repeat this two or three times until the bundle of firewood is complete.

- Insert the lead -

The core log used is either cedar or cypress. Ideally, pine would be best, but straight pine logs are rare, so cypress is used instead. Cypress has sparsely spaced knots, so it won't break even when assembled into a torch and subjected to weight. A torch can weigh around 200 kilograms, so cypress is considered suitable for a core that can withstand that much weight.

First, use an axe to carefully shave and flatten the area where the branches were growing out of the log. Split the tip with the axe. Once the tip is split, insert a wedge into the split and tap it with a mallet to create a split that is about one-quarter to two-fifths of the length of the log.

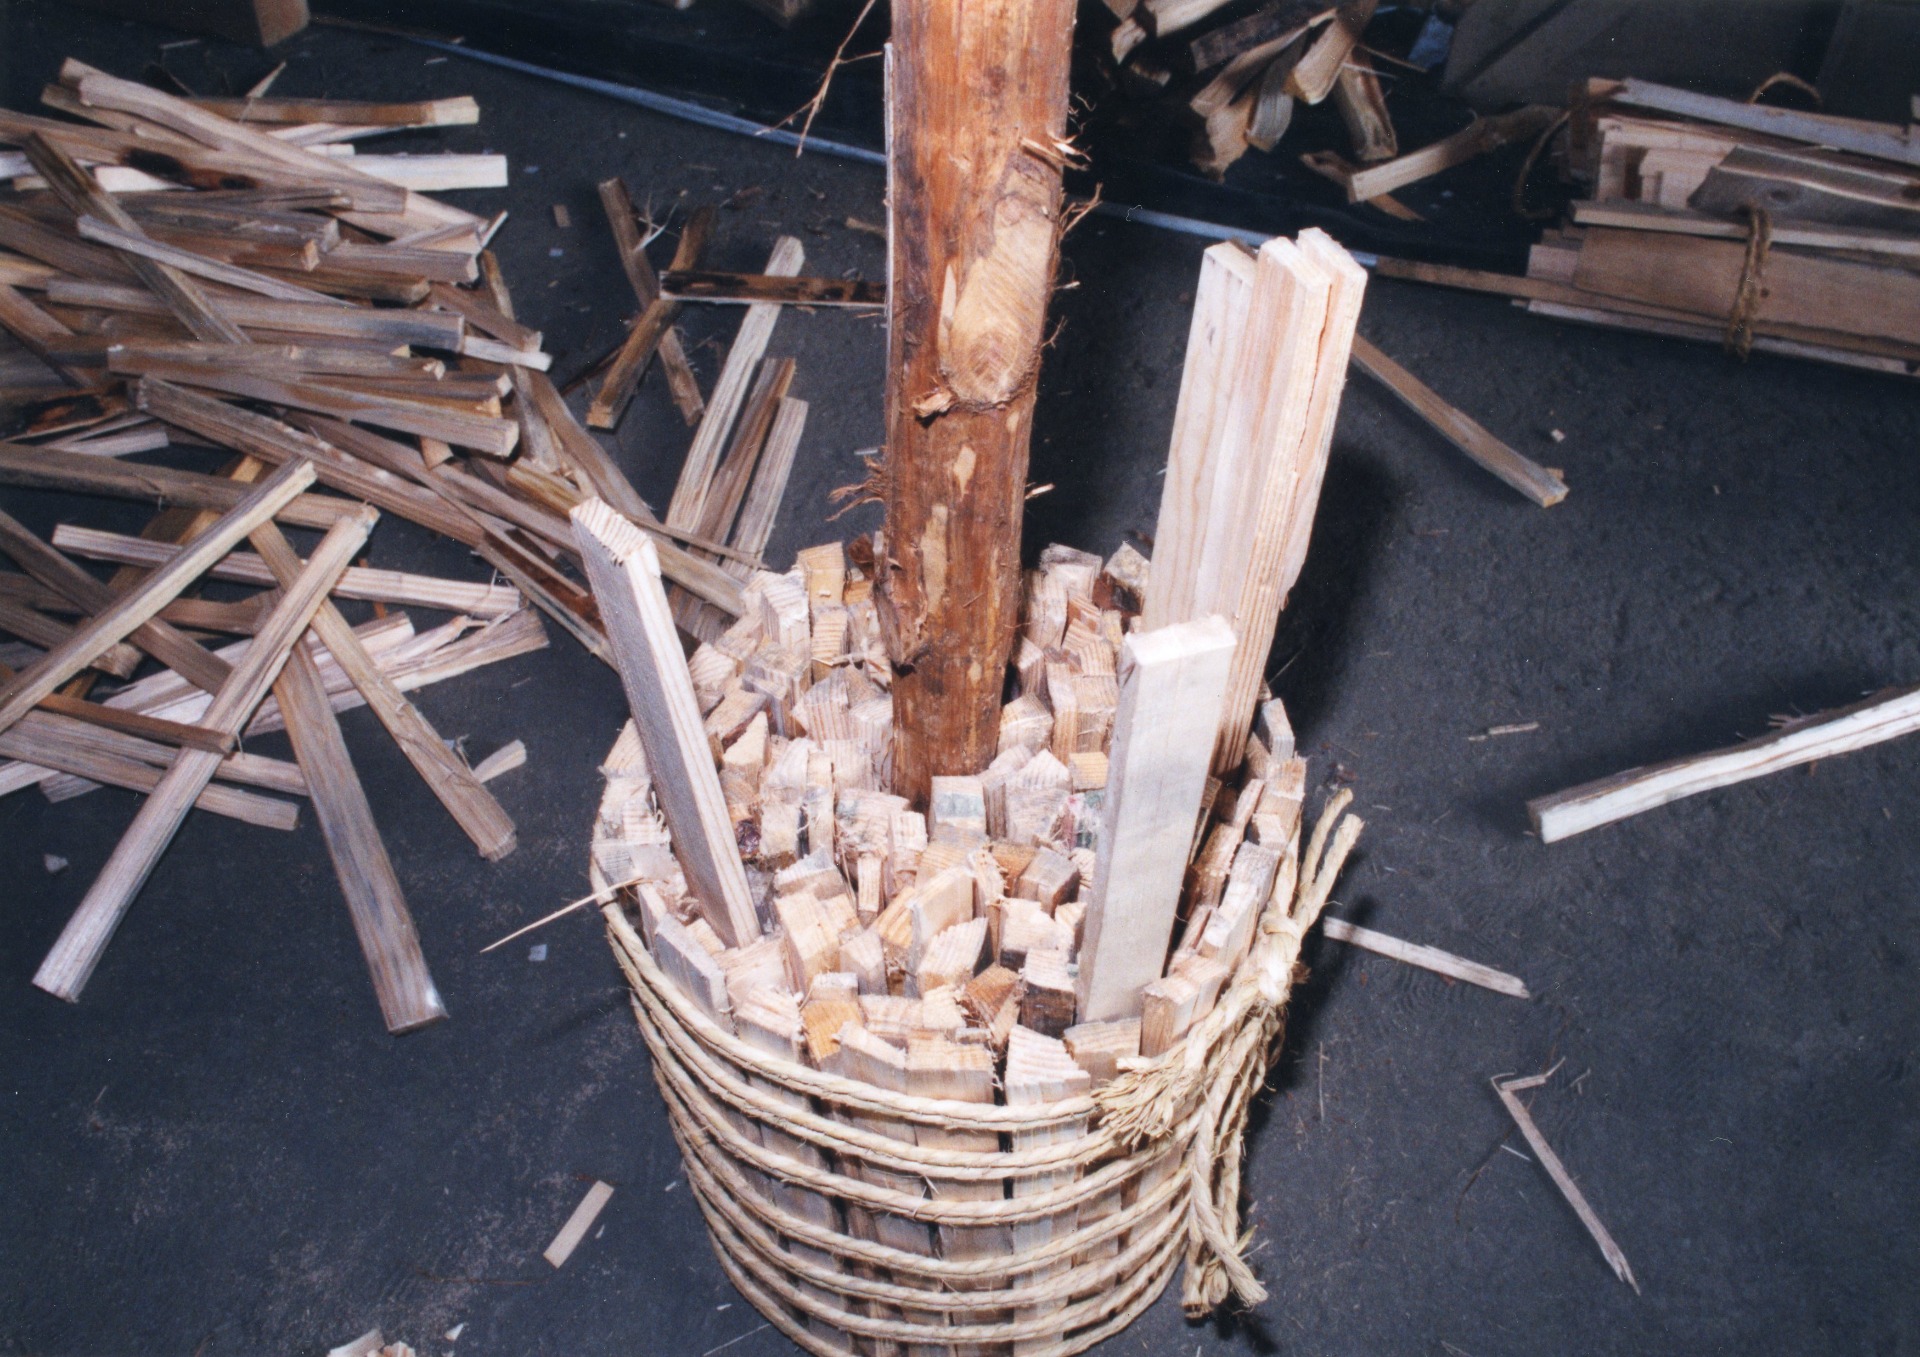
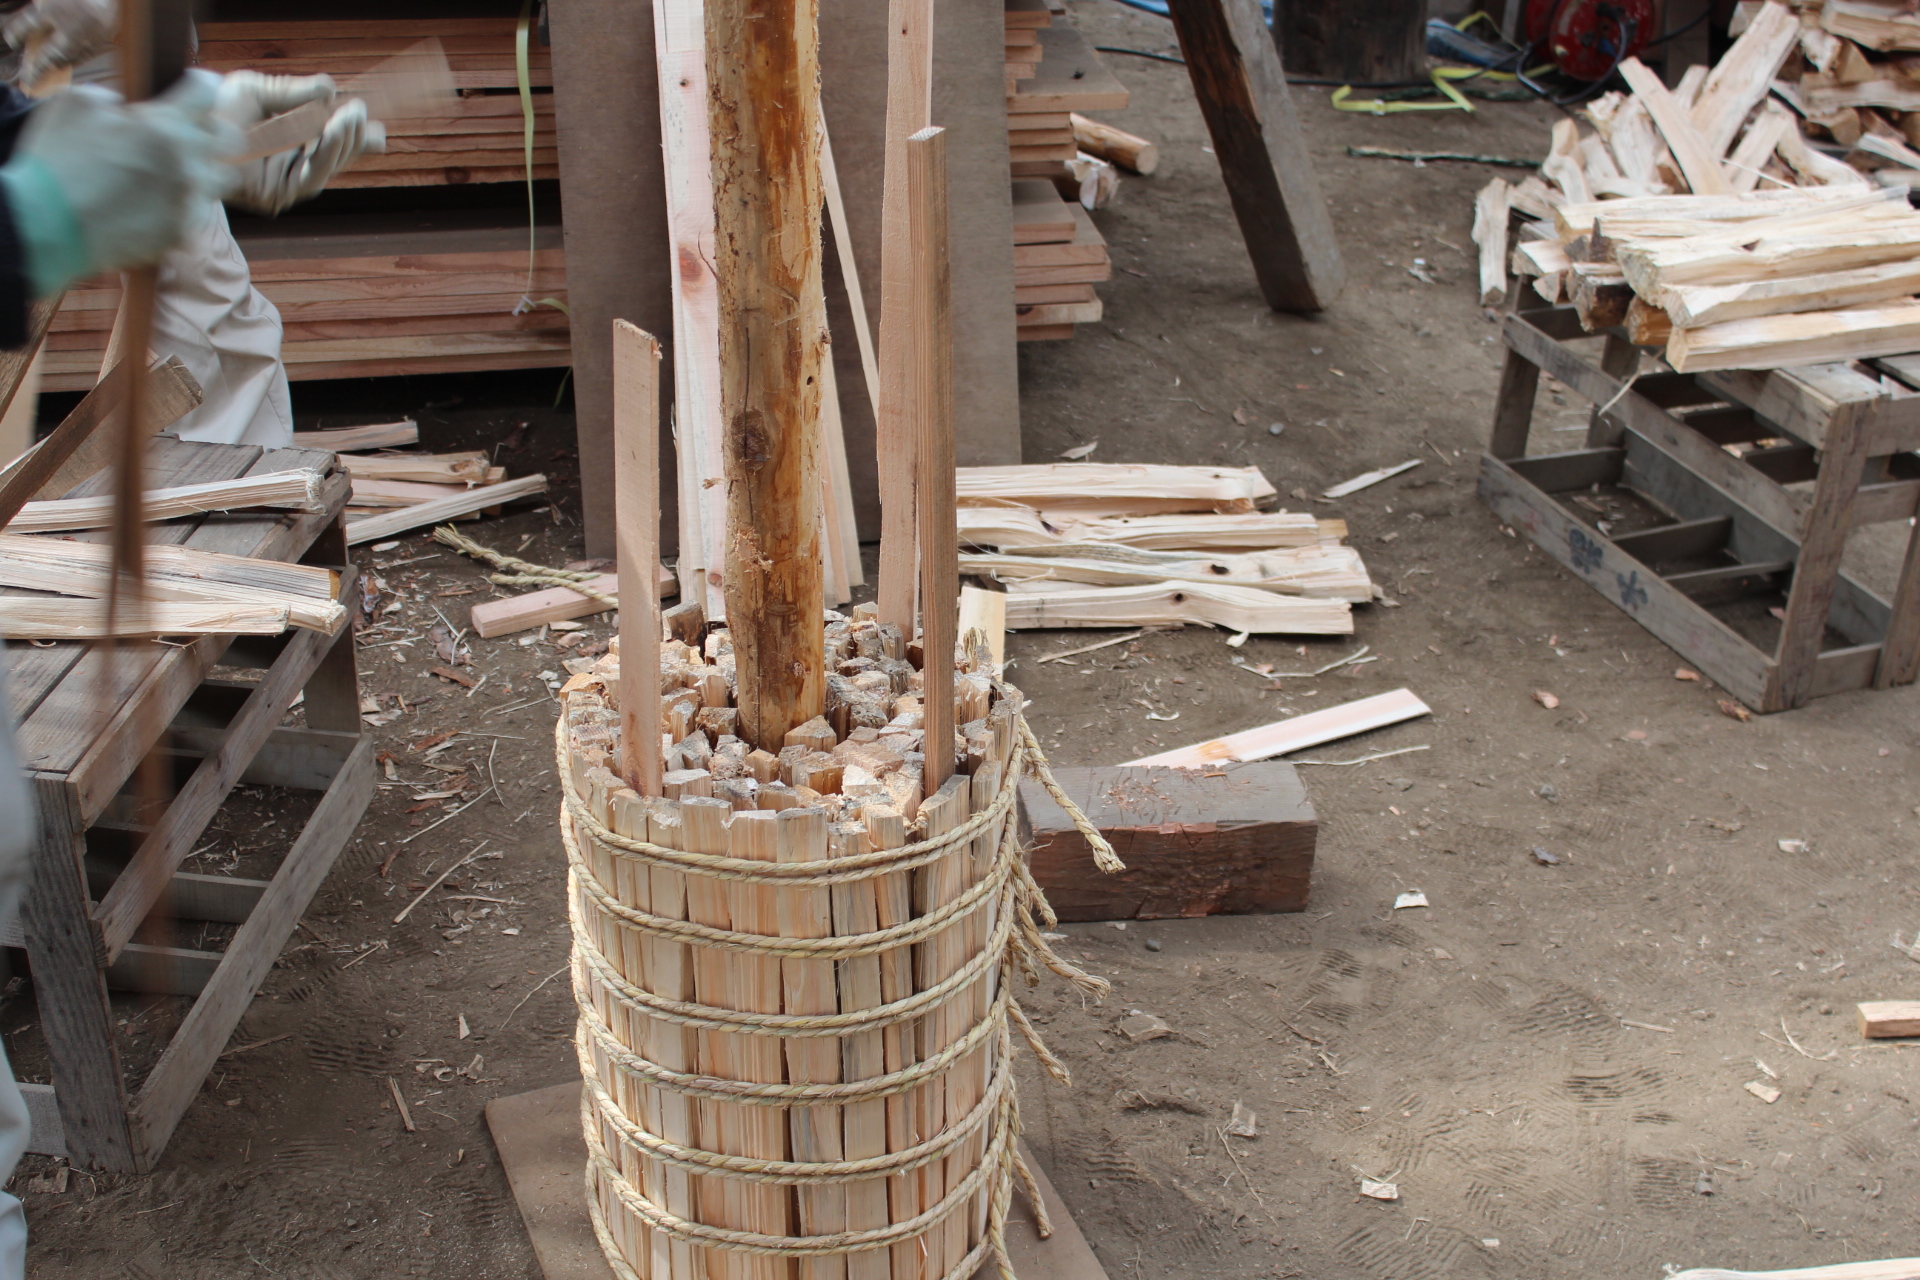
Remove a section of firewood roughly the thickness of a log from the center of the bundle. Insert the log into this section and stand it upright.

Use the back of an axe or a hammer to tap the firewood to adjust the gaps, then fill the gaps with more firewood.

- Put on overalls -

Insert connecting logs into the first layer of firewood, surrounding the core. The connecting logs are longer than the main logs, about 80 to just under 100 centimeters in length, and their ends are shaped like wedges. Instead of using Japanese red pine firewood, scrap wood is used.

 Once the connectors are in place to some extent, surround the structure with rope and insert the firewood. As you insert the connectors and firewood, lift it up and drop it down to adjust any gaps.

- Wrap in thin wooden sheets -

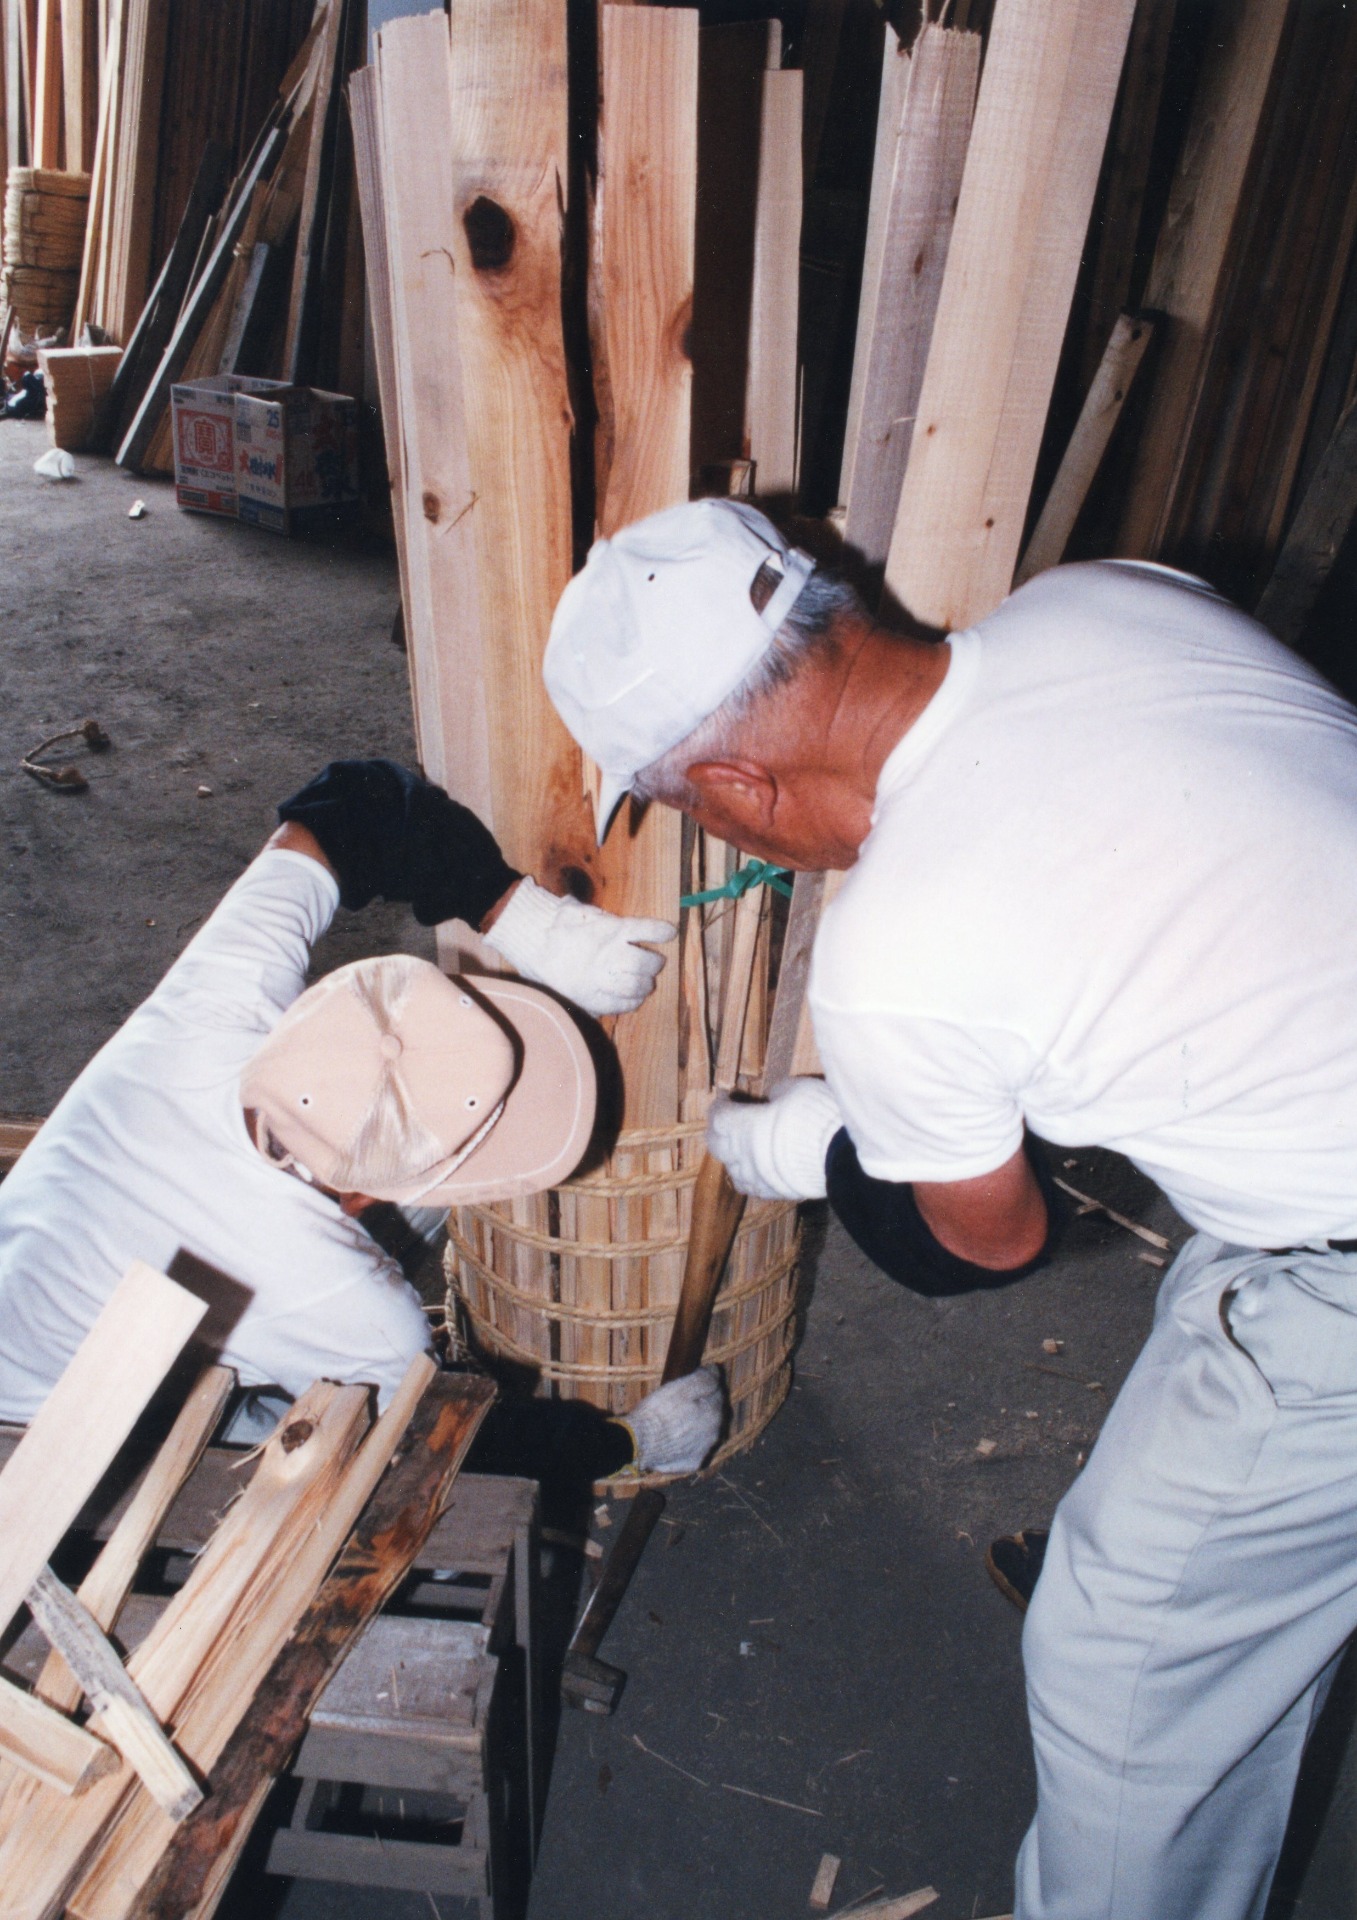
After stacking two layers of firewood, the second layer is surrounded by batta (a type of cypress wood) and temporarily secured with rope. The batta is made from cypress wood from the Kiso Mountains. Batta is taken from leftover parts such as those remaining after the pillars have been removed. Batta came into use around the time of World War II when firewood and split wood became scarce, but originally, thinly split Japanese red pine firewood was used.

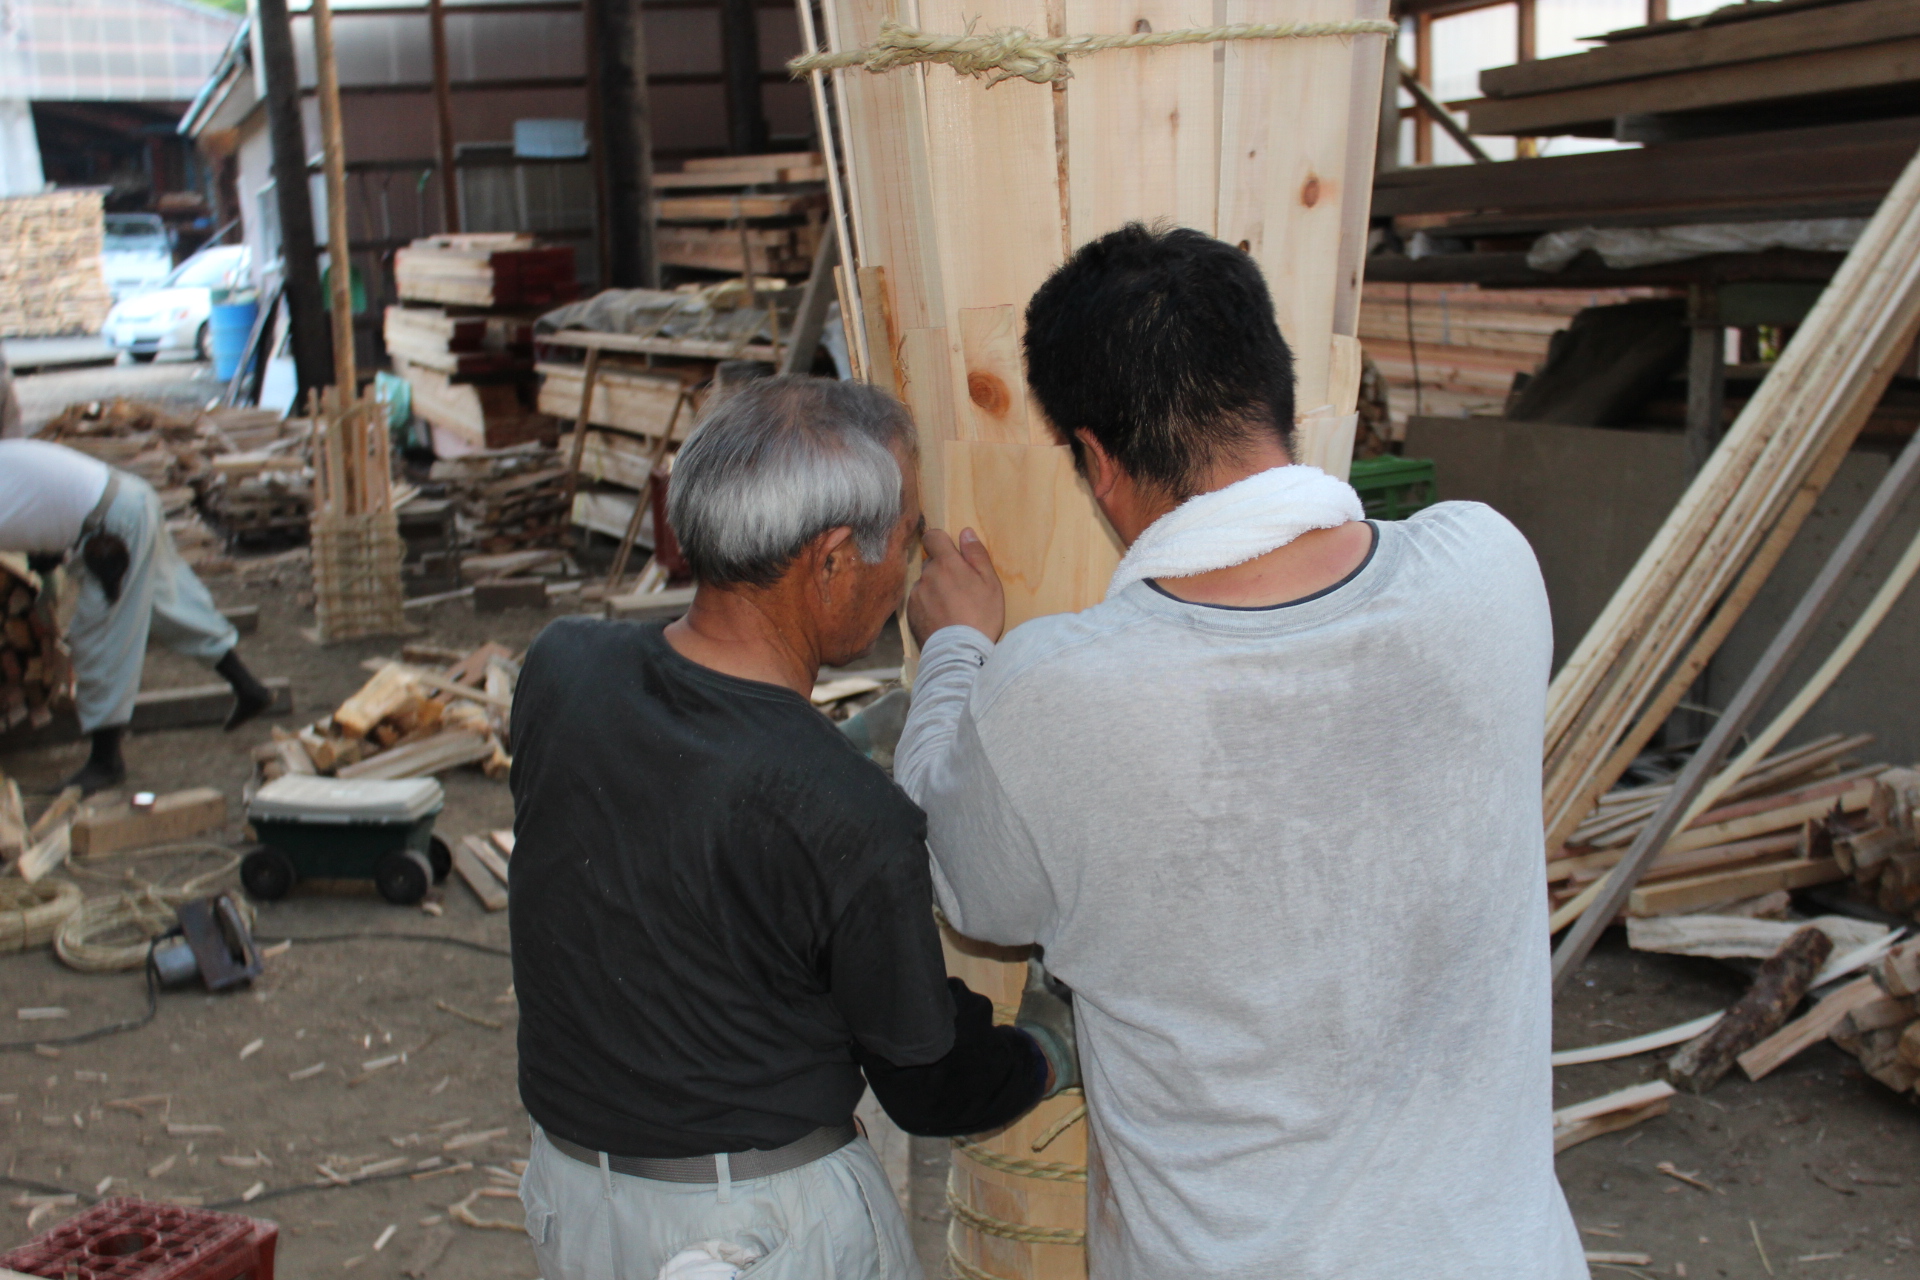
 The first layer of firewood has ropes tied in six places, and you insert a piece of bata (wooden sheet) so that it hooks onto the top rope. About fourteen pieces of bata are enough to surround the firewood.

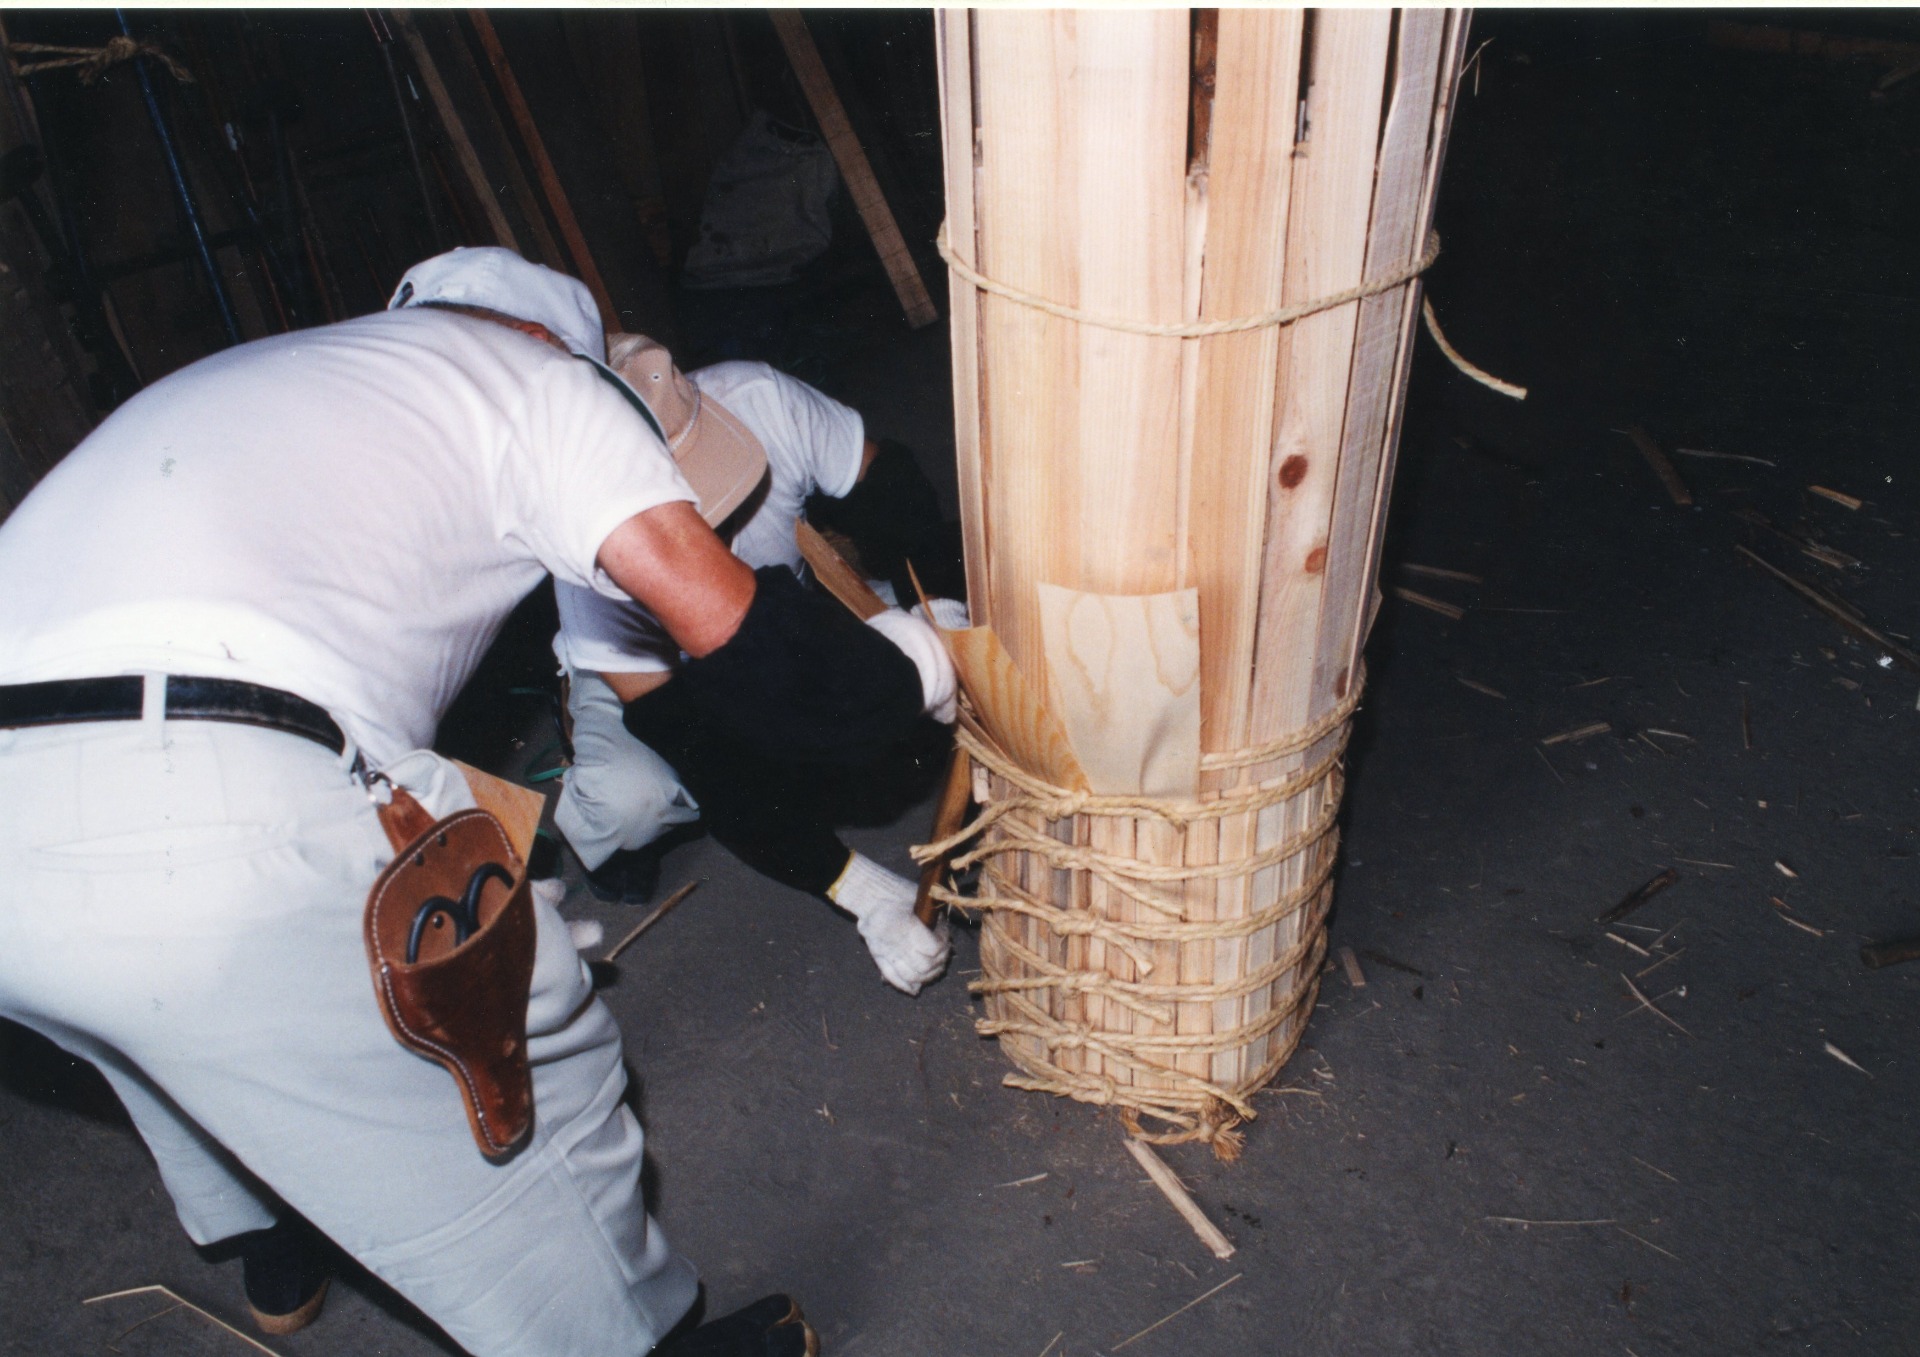
 Wrap the wooden sheets around the bat. Use a spatula to create gaps in the rope of the first bundle, and insert the wooden sheets into the gaps. About twelve sheets of wooden sheets made up one full circle. Once the sheets were in place, pound them with a board to level them, and then tightly tie the top of the sheets with rope. Furthermore, tie the center of the sheets with a second rope, and the space between the first and second ropes with a third rope.

 Now, untie the ropes that are temporarily securing the second layer and add more firewood.

 The torch gets thicker as you go up, so you add firewood while shaping it. Here, about twelve pieces of firewood were added.

 We begin the second round of inserting the wooden planks. We insert the planks into the top rope of the first round. Once inserted, we tap it from above with a board and tie it with the rope. For the second round, we tie the planks in three places from the top.

 Continue the process in the same way until the third round. Once the third round is complete, the torch will be quite tall, so prepare a stand at this point.

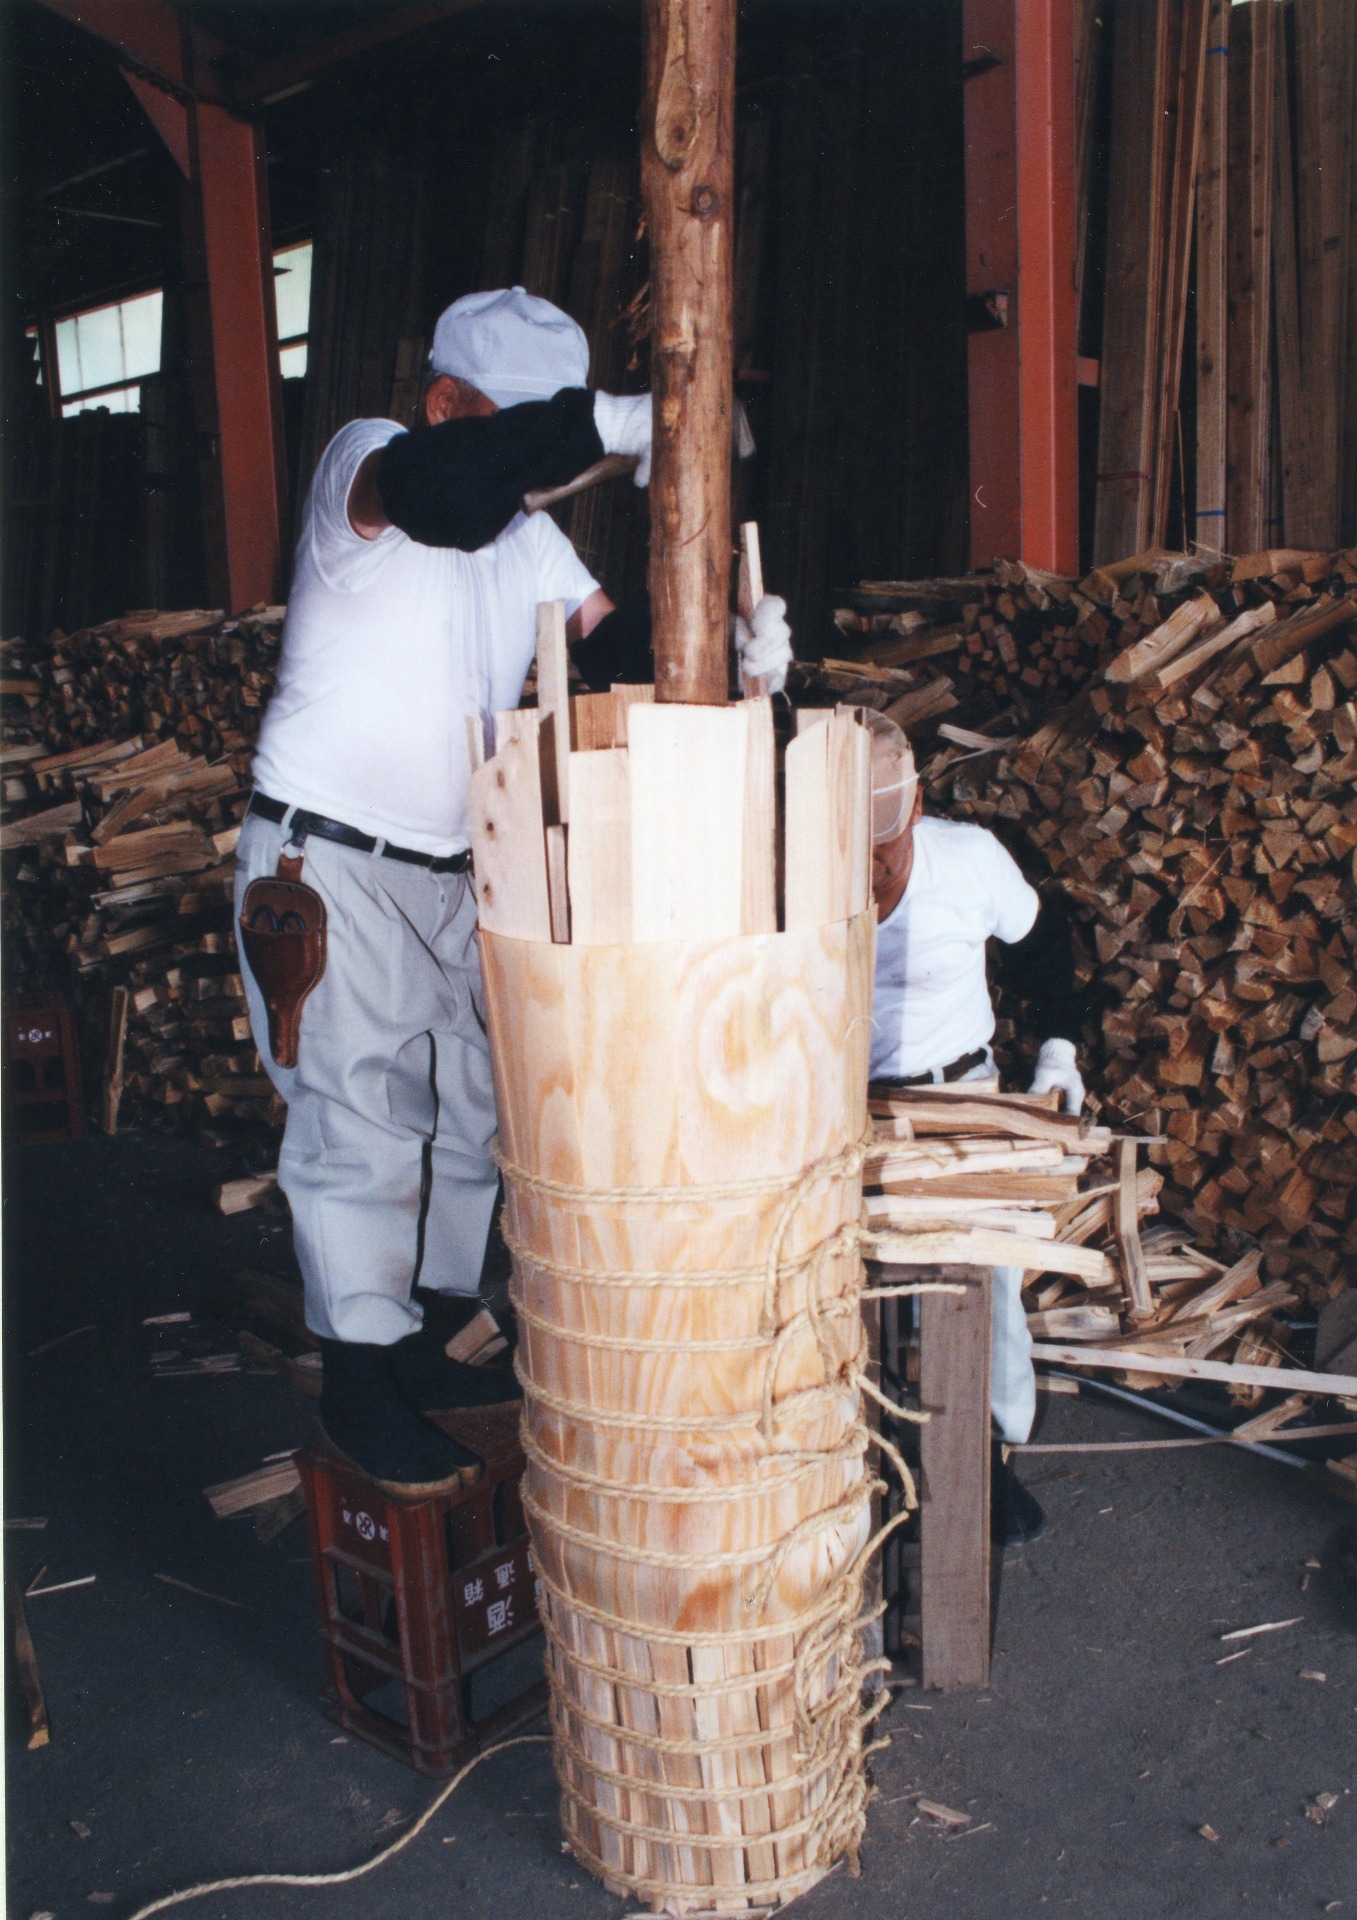
 Stand on the platform and insert the connecting pieces. Insert four connecting pieces, then one piece of firewood, then another connecting piece, and so on, checking the overall fit as you insert the connecting pieces and firewood, and then tap them down from above with the back of an axe or something similar. Once you have inserted a certain amount, add about four thick pieces of good quality firewood, and then get down from the platform.

 Insert the logs. Insert the logs so that they go behind the logs that were inserted earlier. While inserting the logs, insert any remaining logs into any gaps.

 Here, eighteen pieces of bat were used to surround the structure. After inserting them, they were hammered with a wooden mallet to shape them, and then temporarily secured with rope.

 The wooden strips are now on their fourth rotation. The torch has gotten quite thick, so fifteen strips of wood were used to complete one rotation. Sixteen strips of wood were used for the fifth rotation. It becomes difficult to maintain balance as you get higher. Tying it with rope makes it sway.
- Lower part finish -

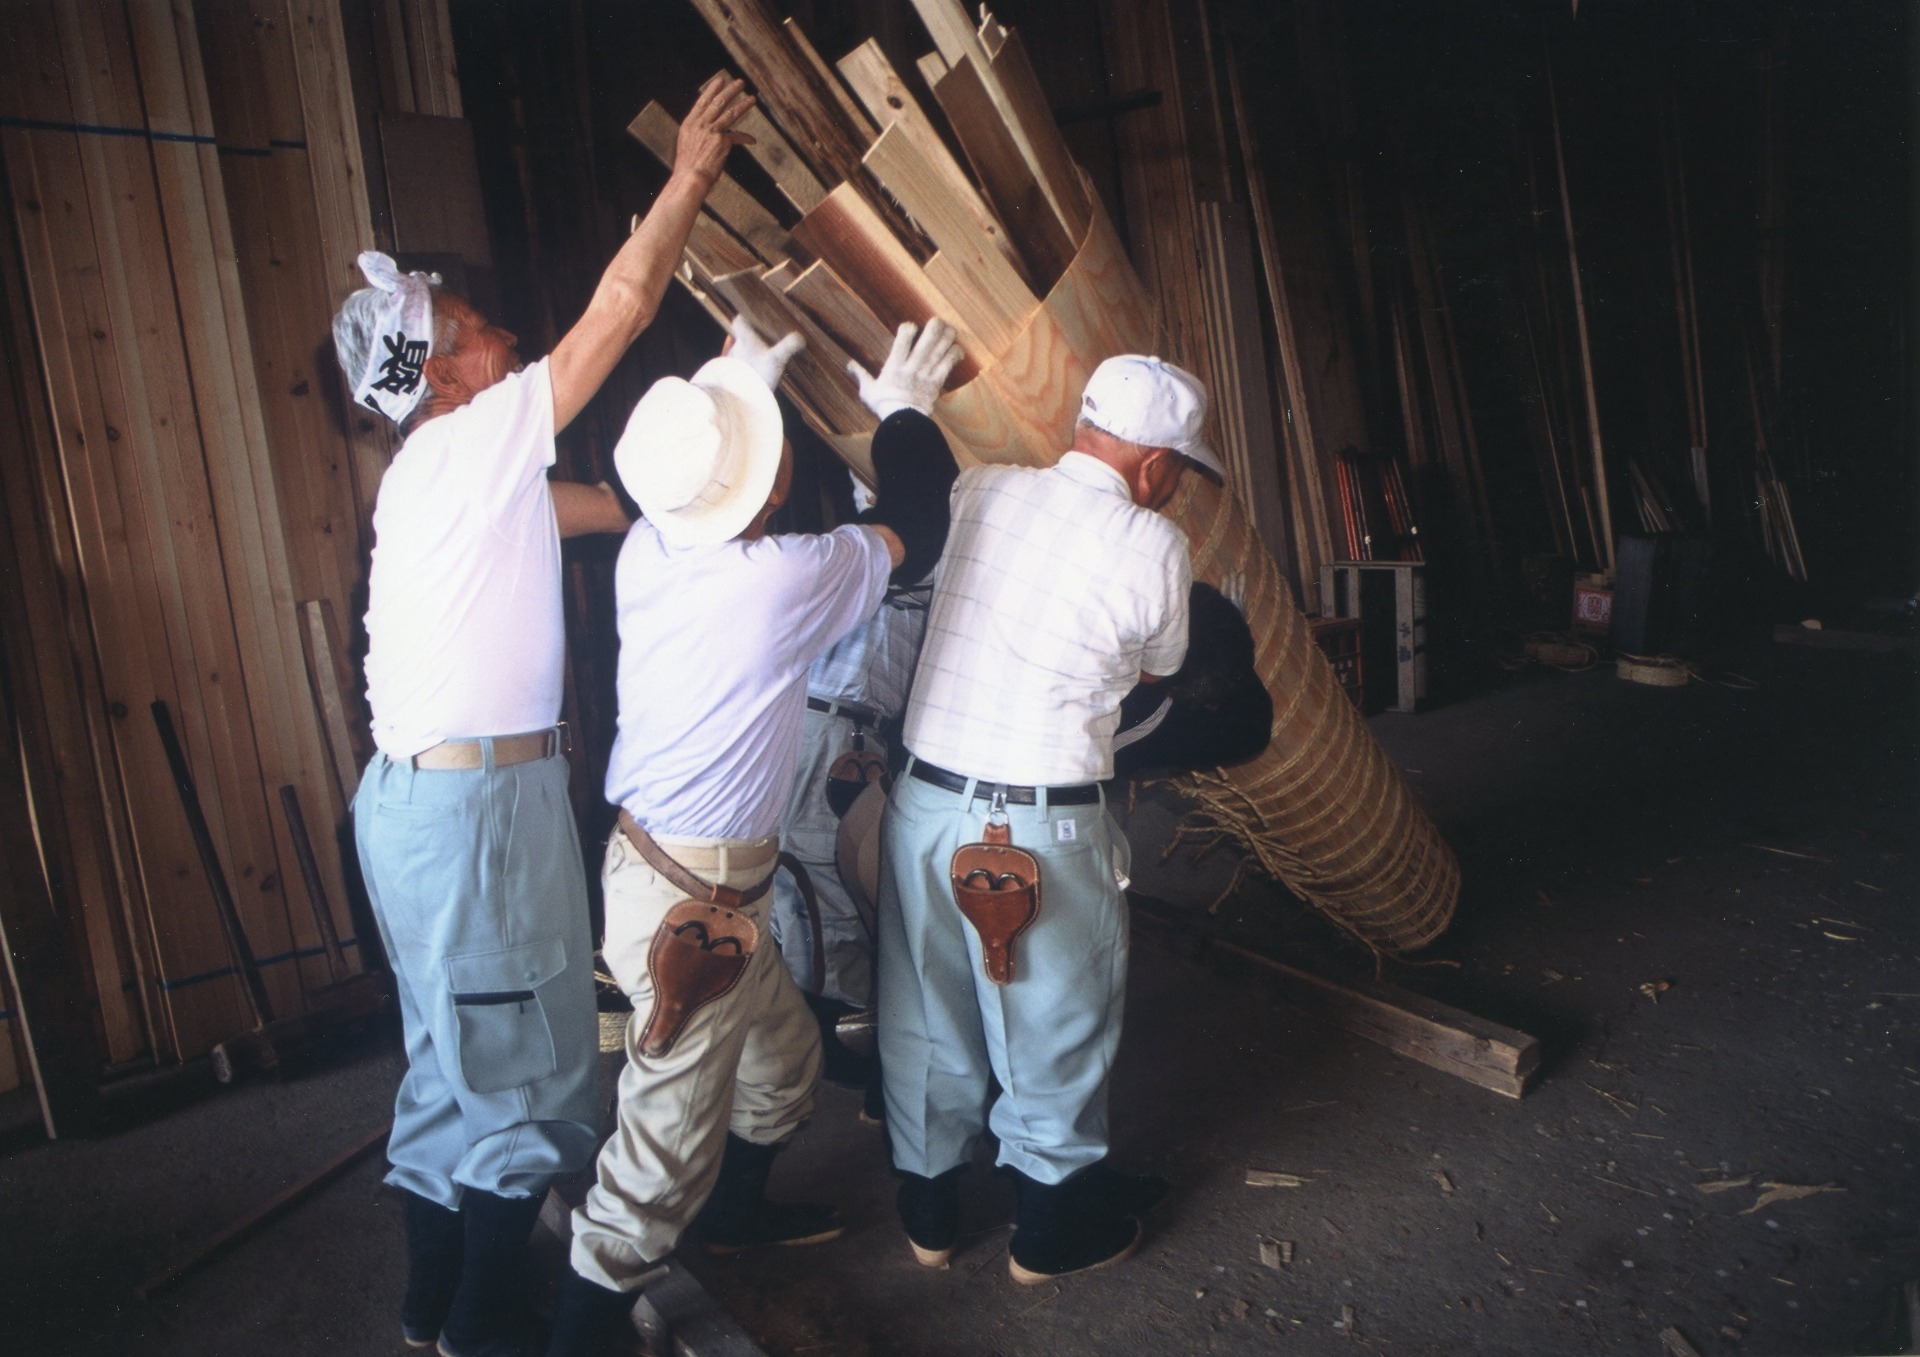
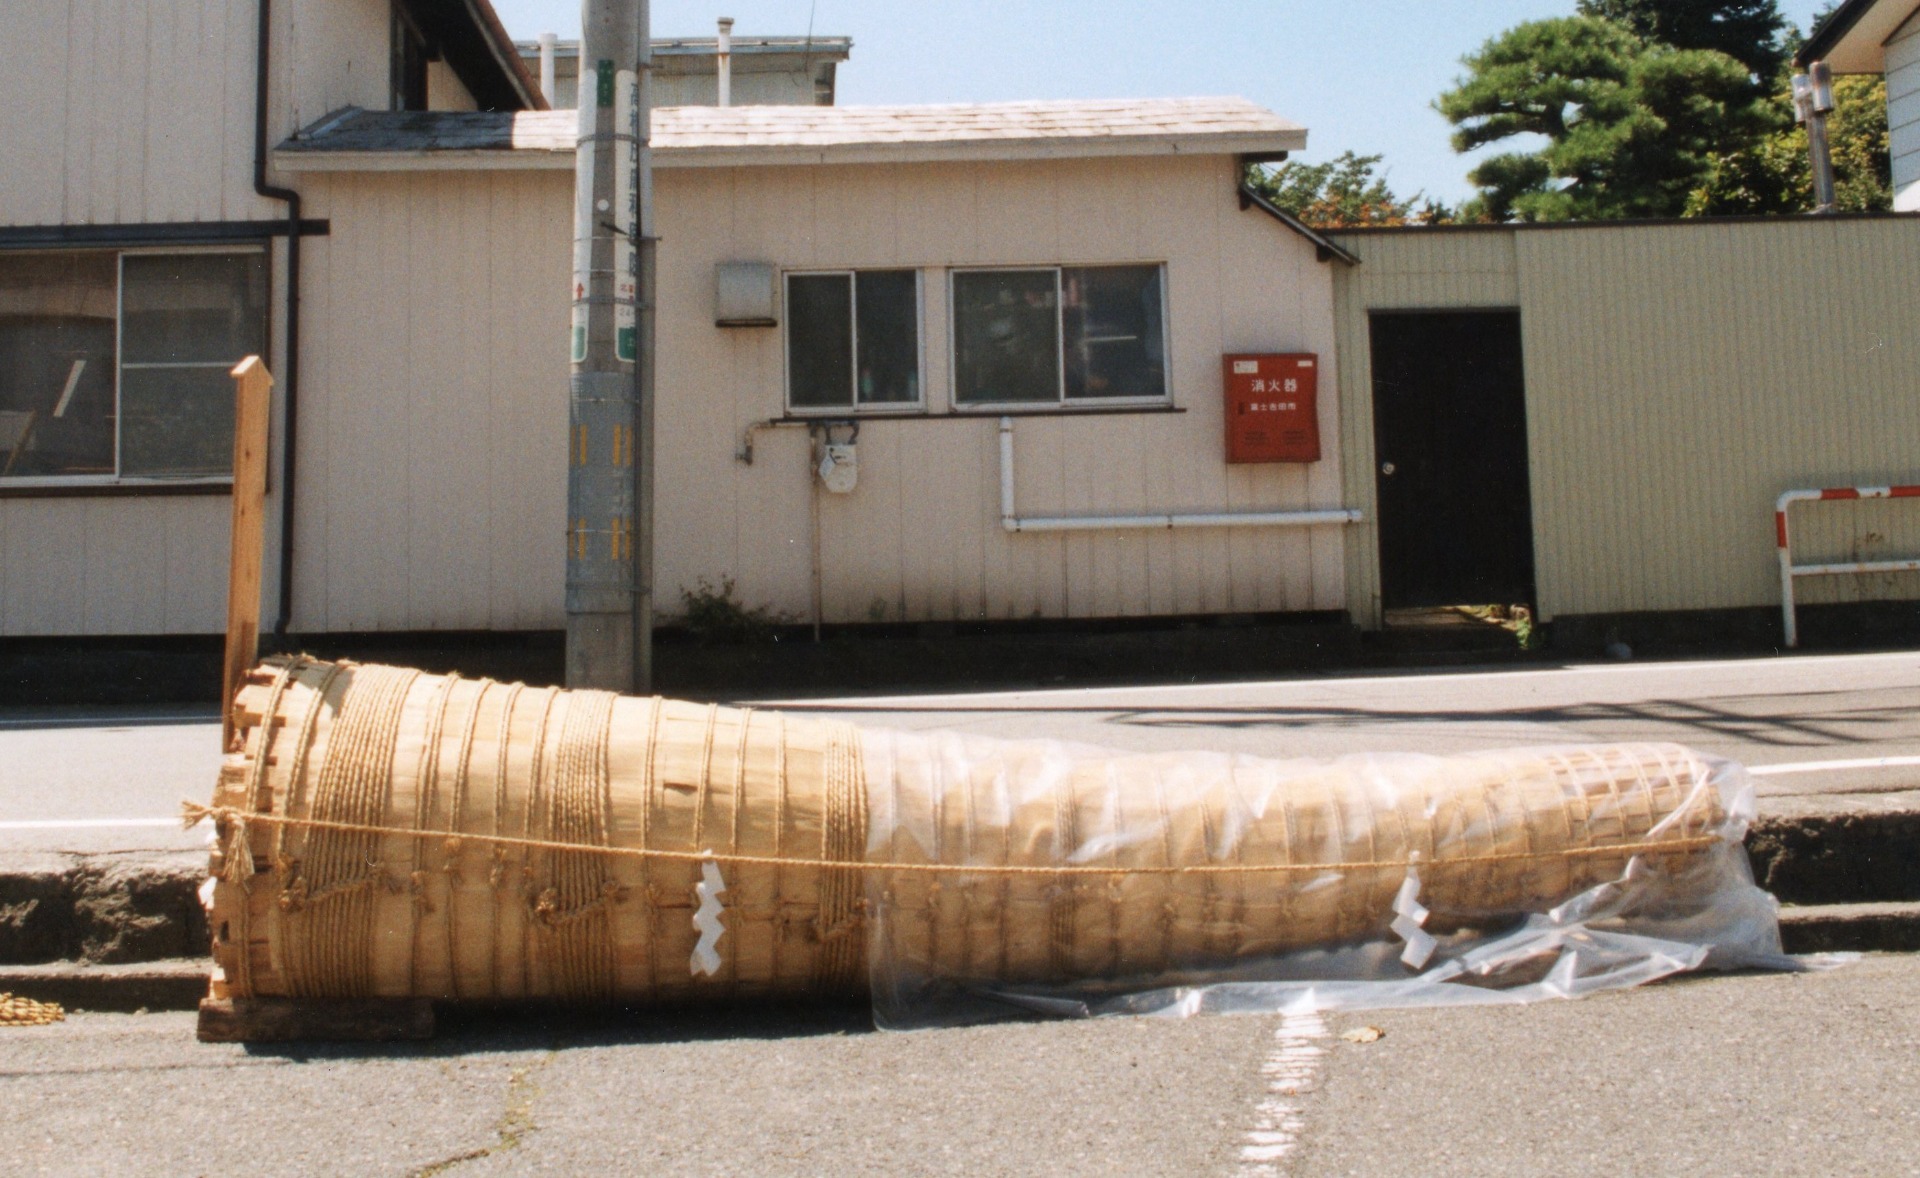
Once the fifth layer of wood veneers is complete, the torch is toppled and the finishing work on the lower section begins. Up until now, the work had been done with the torch standing upright, but now the firewood is stacked from the top of the torch upwards, gradually making it thicker. Finally, the torch is toppled and the lower section is constructed while it is lying on its side. When toppling it, three pieces of timber are placed underneath it, and the torch is toppled onto them.

 To ensure the firewood at the bottom is even, you can tap the pieces sticking out at the top to push them further in, or add shorter pieces to fill in any gaps in length.

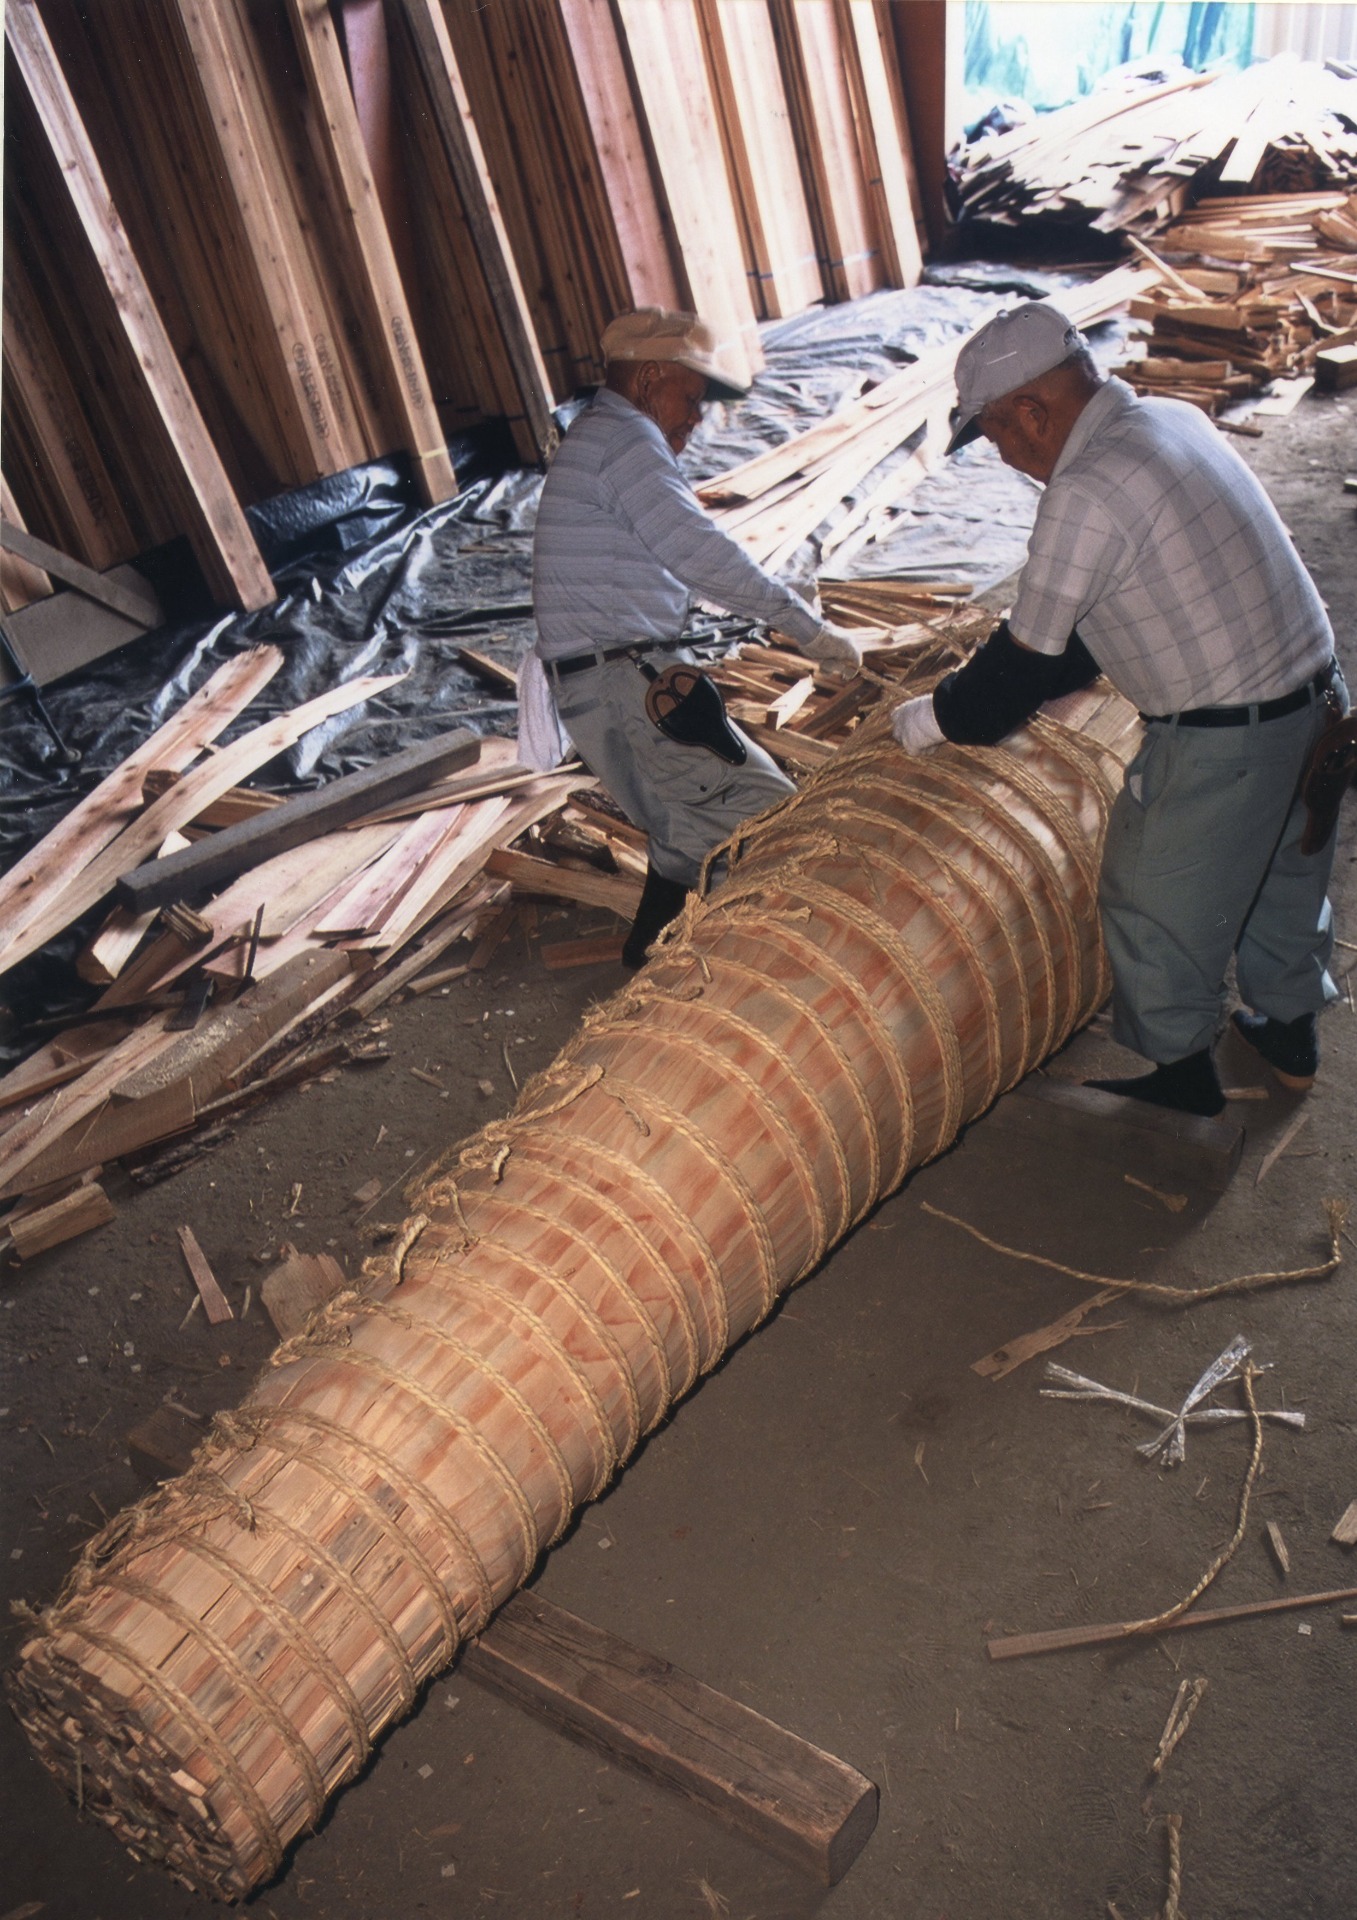
 Move the piece of wood that is being used as a base, adjust the balance of the rope, and tie the rope seven times.

 Next, I added more firewood and inserted thin wooden sheets. I used 21 sheets of thin wooden sheets. Since I was working with the torch lying down, I rotated the torch after inserting 14 sheets. Then I packed the firewood for the last layer. I inserted five pieces of wood to use as supports and packed in thick, short pieces of firewood. The firewood used for this second layer was about 8 inches to 1 foot long. I also filled the gaps with scraps of wood about 5 inches long.

 Here, the rope is tied in a nine-fold knot.

 The last piece of wood is wrapped around the torch. This is the thickest part of the torch, and two or three pieces were used.

 The last piece of firewood is placed. This will form the base, so fill any gaps with wood scraps to make it flat. Trim any long pieces of firewood to make them the right length. Arrange shorter pieces of firewood around the central pillar. The pillar and the firewood around it should be about fifteen centimeters shorter than the surrounding pieces. The shortened section acts as a chimney, allowing the torch to burn more vigorously.

 The bottommost wooden strip is tied with eleven layers of rope. Below the bottommost strip, there is a gap of about 100 centimeters, which is called the "hakama" (skirt).

 Tap the bottom repeatedly until a gap appears, then insert thinly split pieces of firewood. Repeat this several times.

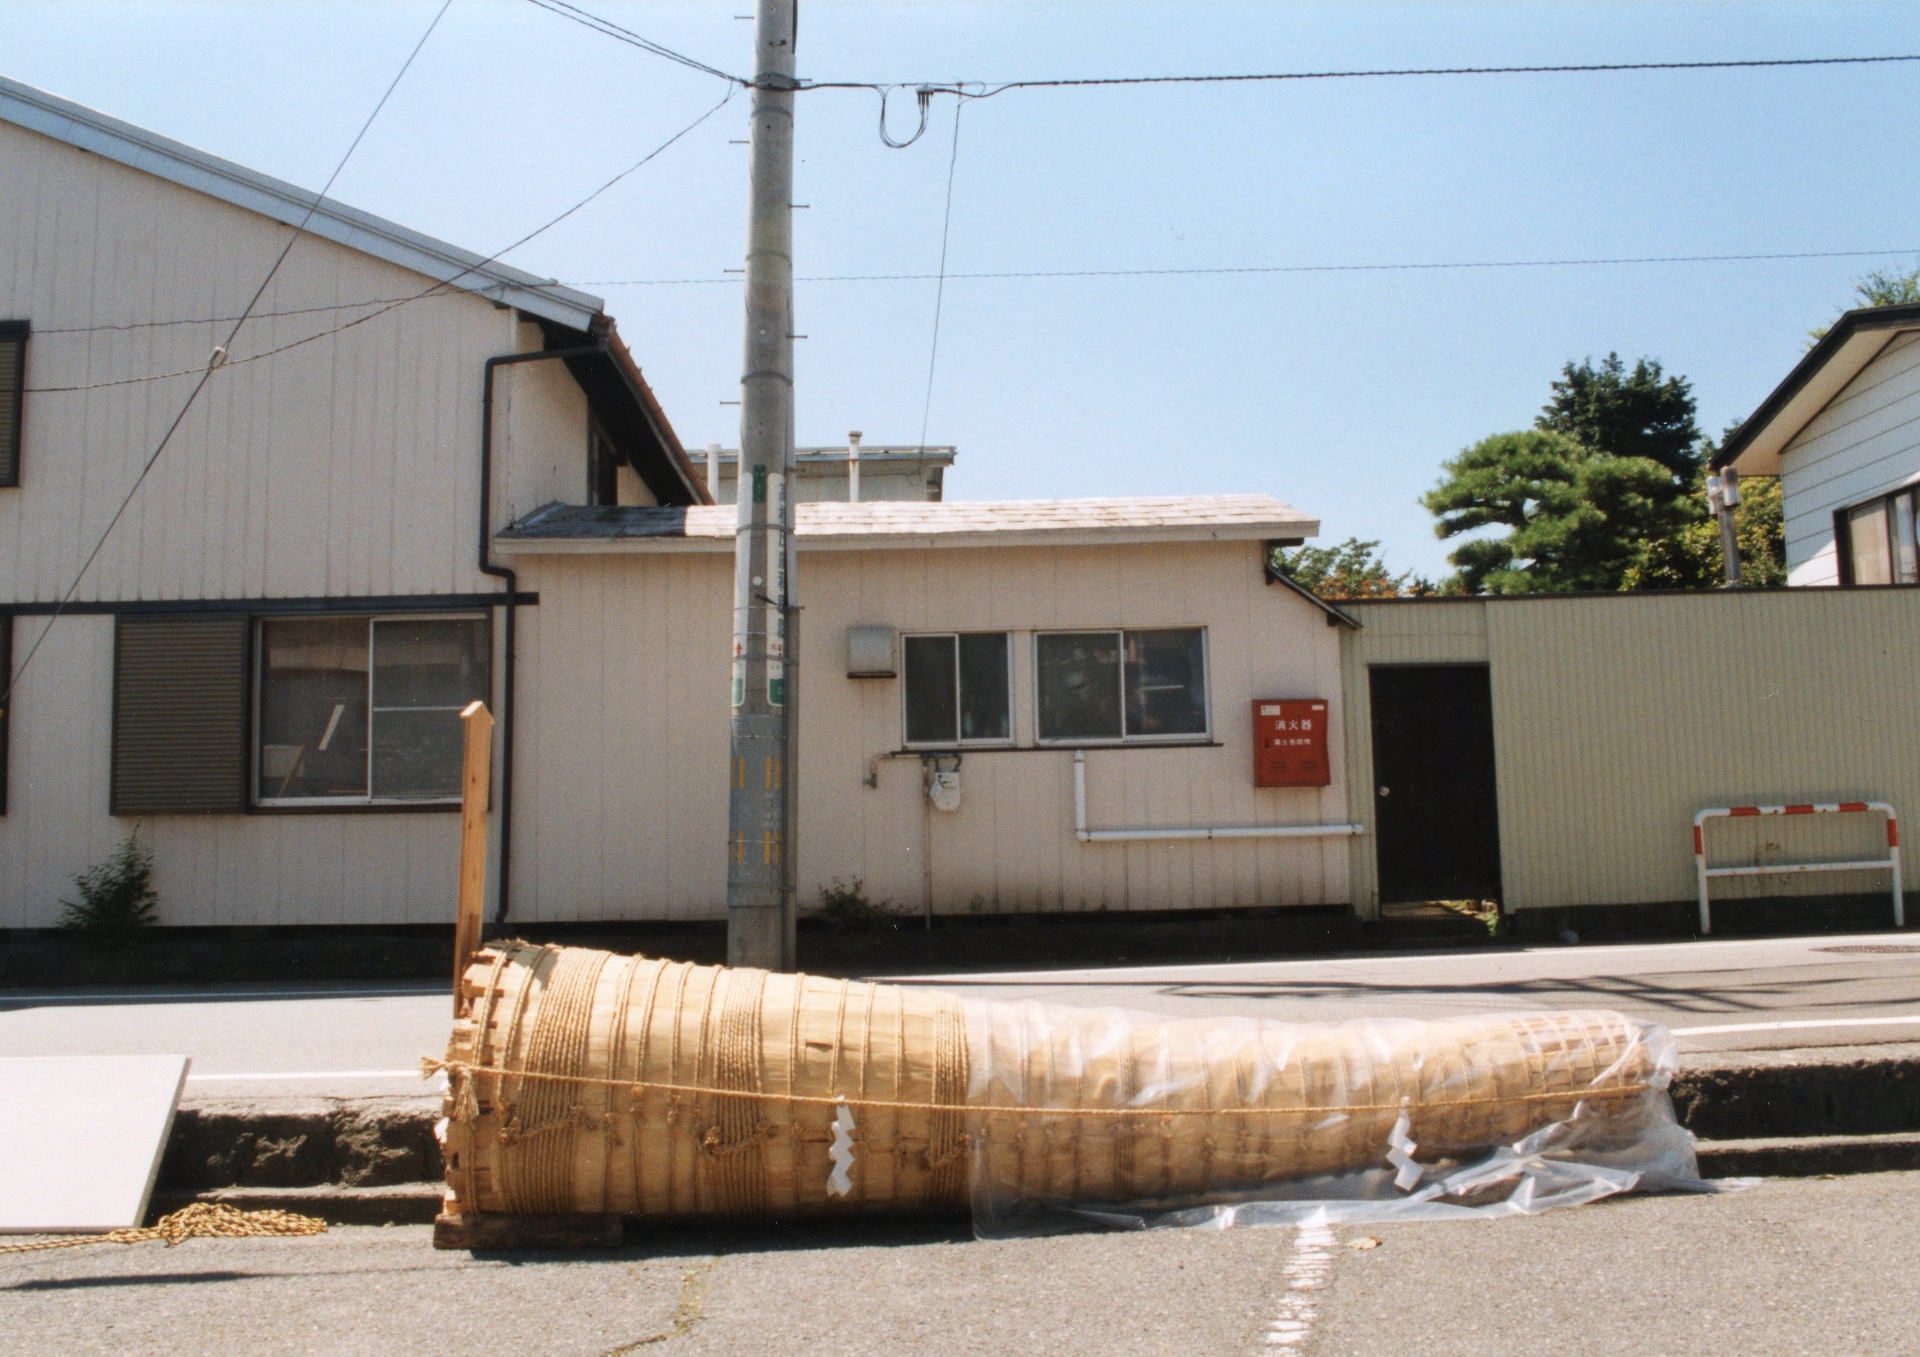
 Finally, the rope was trimmed and the torch was complete.


Citations/References

- "Yoshida Fire Festival" National Record Selected Intangible Folk Cultural Property Survey Report, 17, Fujiyoshida City Board of Education